Our Unbelievable Journey
A couple getting out of the rat race through flipping homes and investing in real estate.
5 EASY STEPS TO RENEW YOUR WORN OUT HARDWOOD FLOORS IN LESS THAN 2 DAYS!
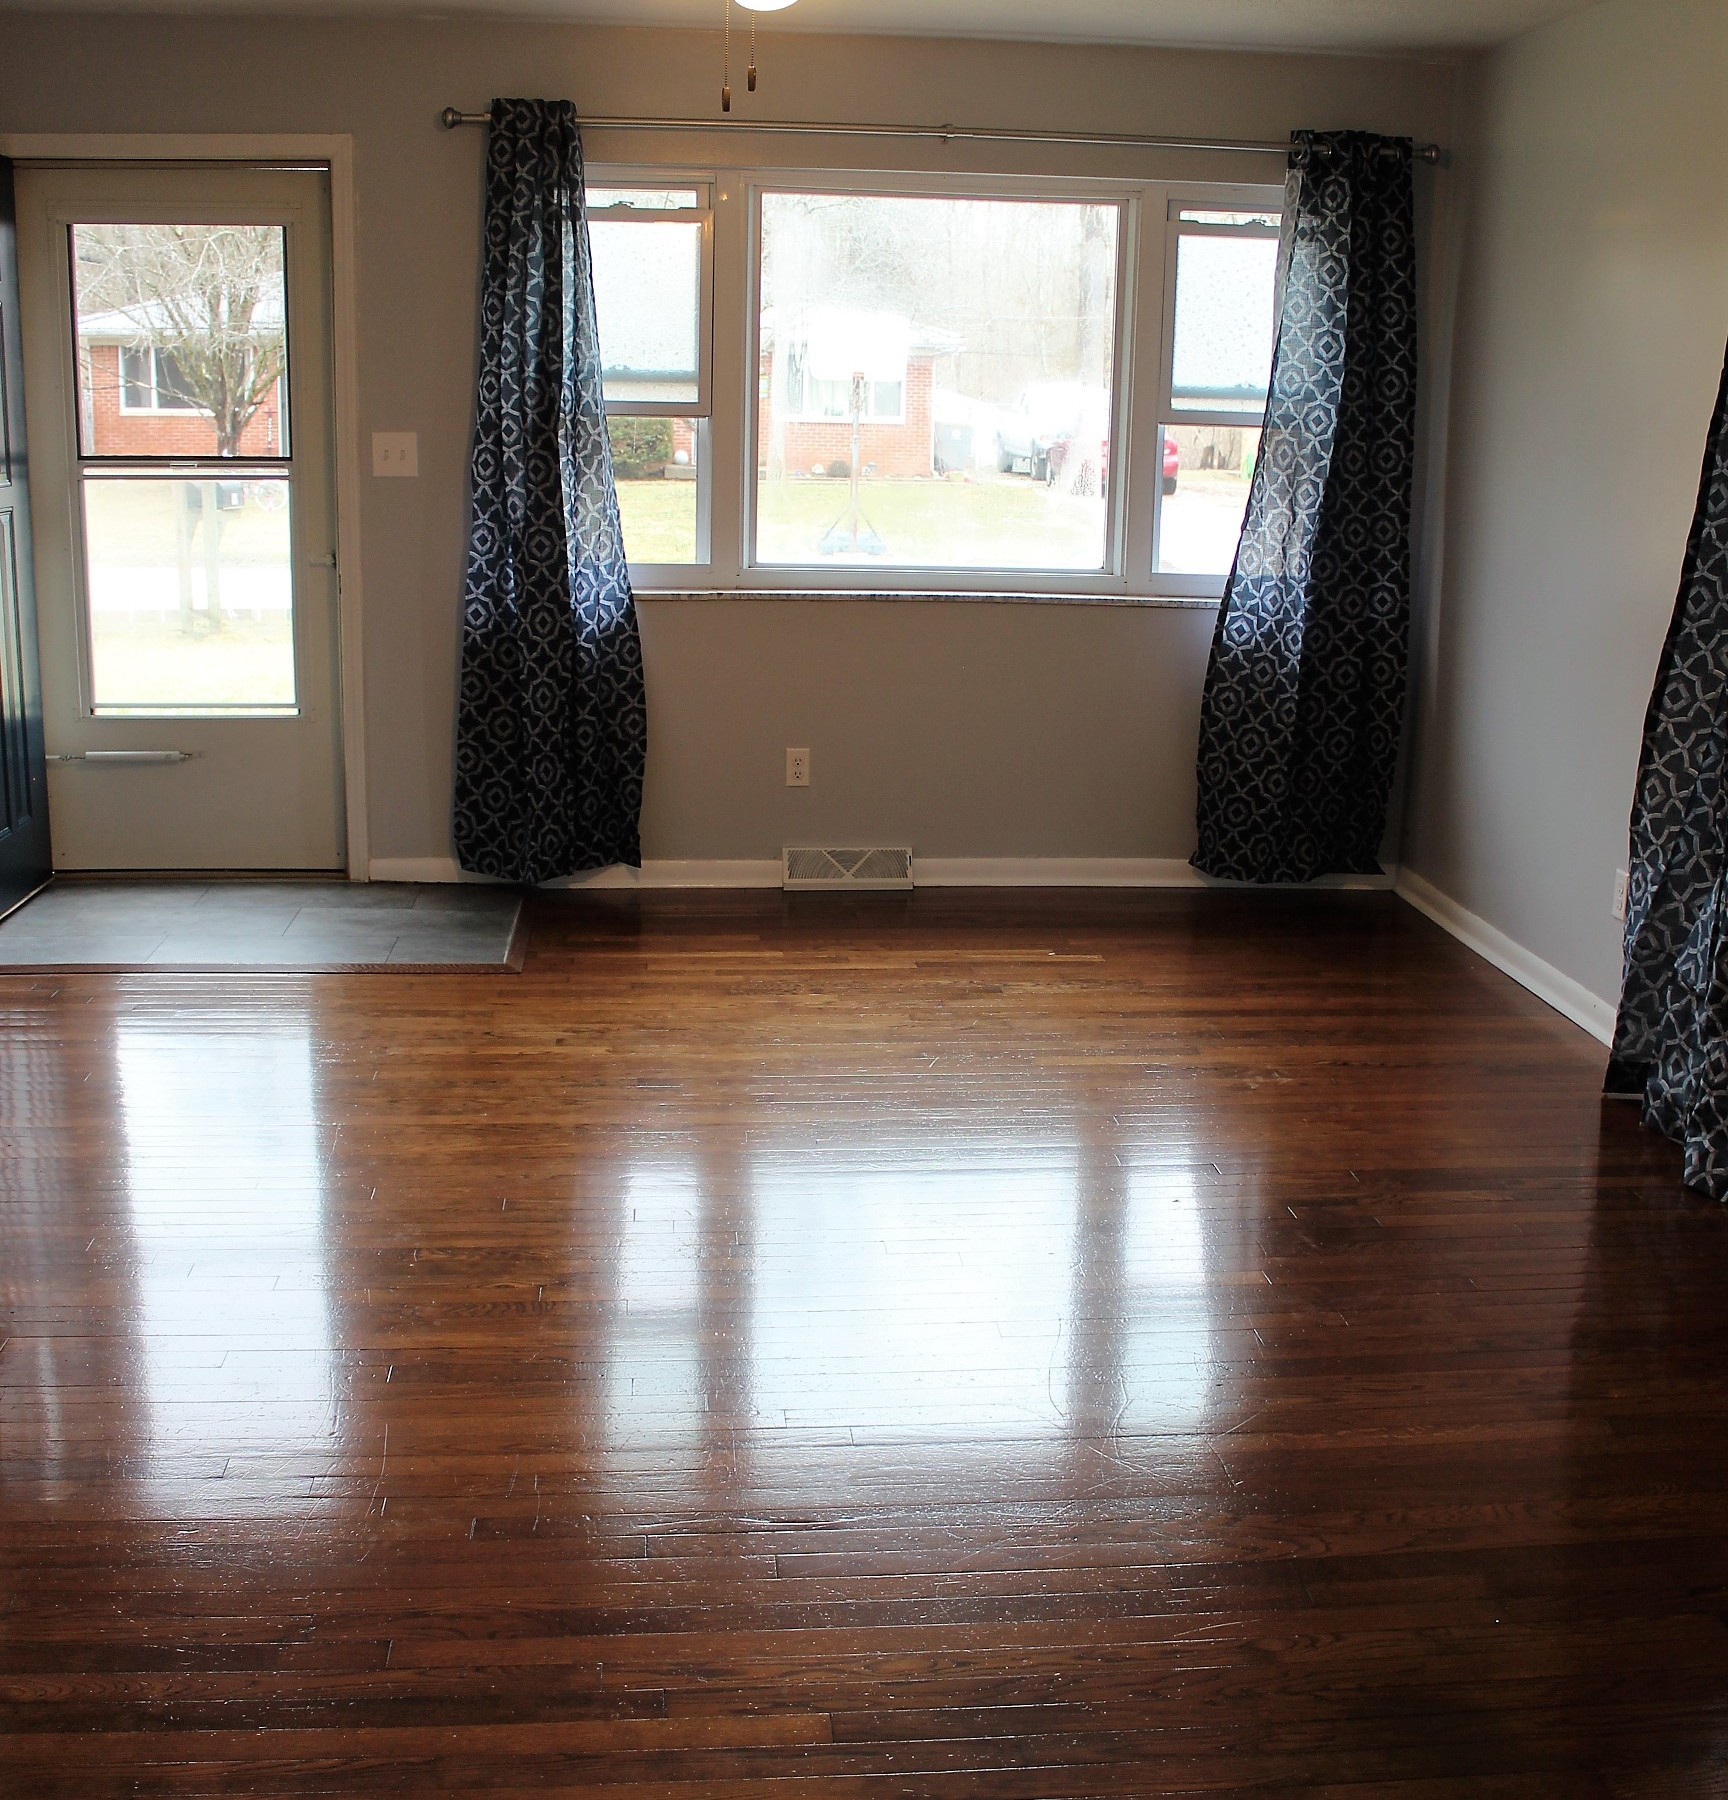
The floors in this unit were looking a little tired and worn, so we decided to give them a quick refurbish! The polyurethane was starting to flake and peel. The luster had long worn off. Here, we’ll give you 5 simple steps to do a quick, low-cost turnaround without having to sand everything back to bare wood, stain, and put several coats of polyurethane on!! This project took us a couple of days. We started on a Friday evening and finished around noon on Saturday.
- Flake off any loose material, and lightly sand these areas using a fine grit sandpaper to smooth out the rough edges.
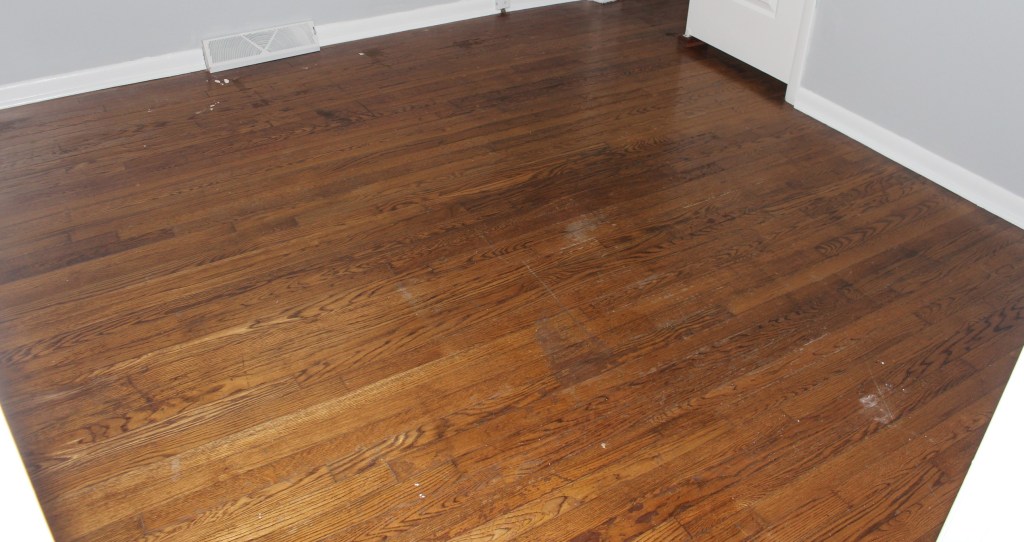
- Clean the floors. I don’t mean sweep and mop. You need to get them as clean as possible. Remove any wax or oil that may be on the floors. If there is wax or oil on the floor the new coat of poly will not adhere to the existing flooring. You need to get any and all debris up and off of the floor. We first swept the floors to get the loose stuff and then scrubbed any of the stubborn spots clean. Then we used a Swiffer wet pad mop. This is also your last chance to double check and make sure that you were able to remove any of the stubborn dirt and buildup.
- If you have areas that the color has faded, I would suggest using a small amount of water based stain to revitalize the color in the wood. If you are going to use a stain that is oil based refer back to step number 2. For this project we used Old English polish (which is oil based). This brought the color back, but we then had to wipe up the oil residue that was left behind. It is EXTREMELY important that you do NOT leave any oil (Old English in our case) on the floors when moving onto polyurethane! It will not adhere!
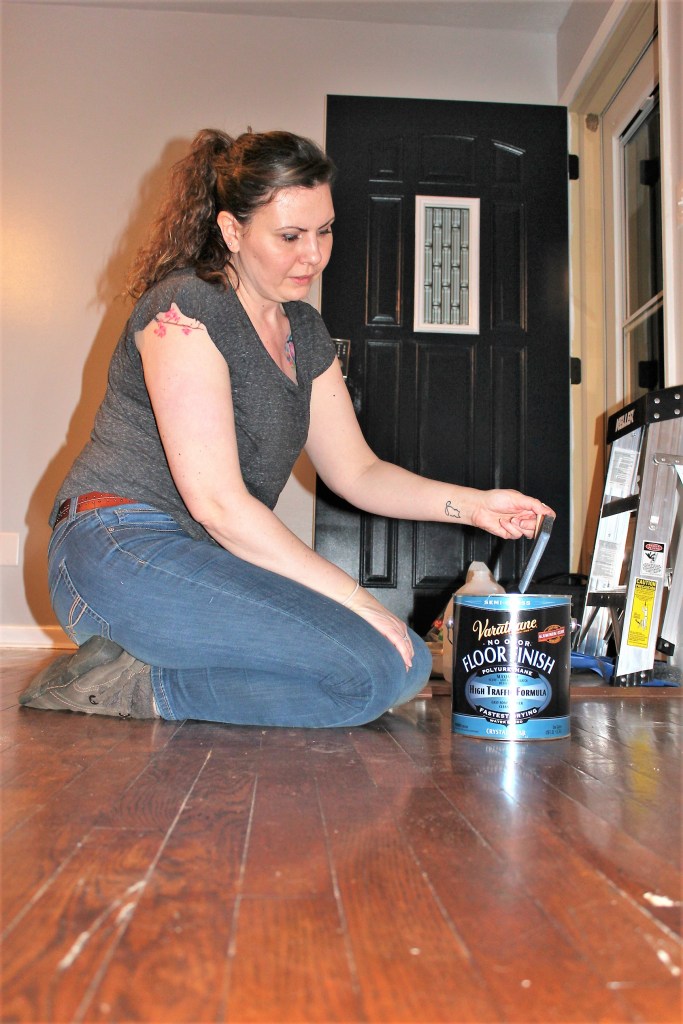
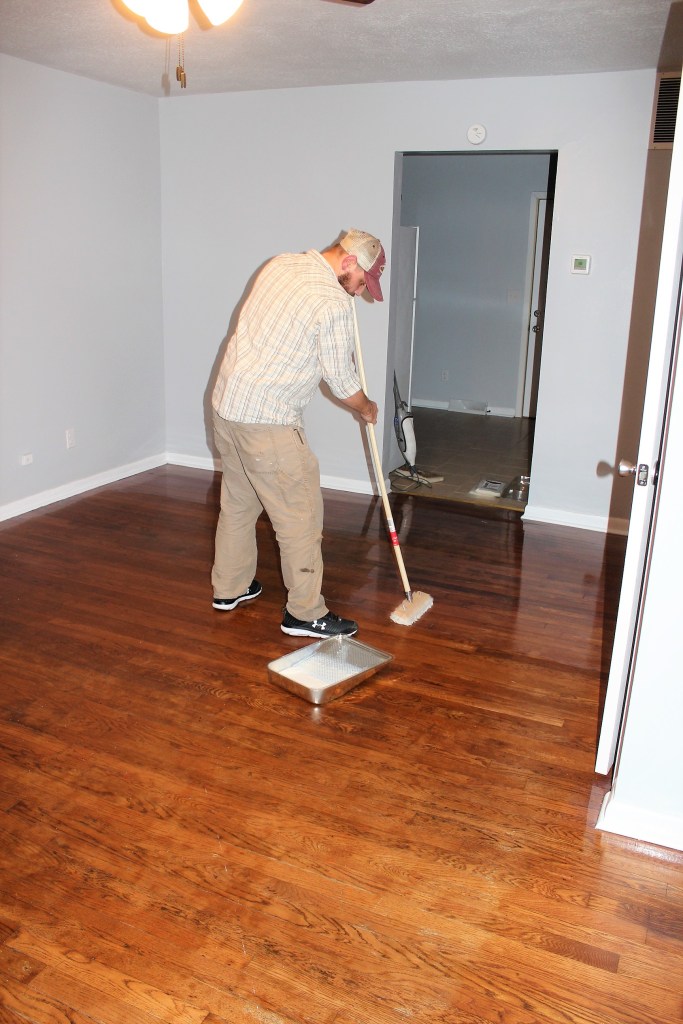
- It’s time for Poly!! Zella and I work in teams when we are coating the floors. She coats the outside edges with a 3-4 inch foam brush, while I do the application with a lambskin applicator on the rest of the floors. We used Varathane Water Based Floor Finish for this project. Never shake your poly in order to mix it! Slowly stir it using a stir stick!! You do not want to create a can of poly that is filled with air bubbles!!! Also, when applying with the foam brush, apply slowly so that you do not create air bubbles. Another tip when applying, Zella kept a paper towel with her in case there were any loose hairs that were stuck to the foam brush and when they got “too hairy” replaced them with a new one.
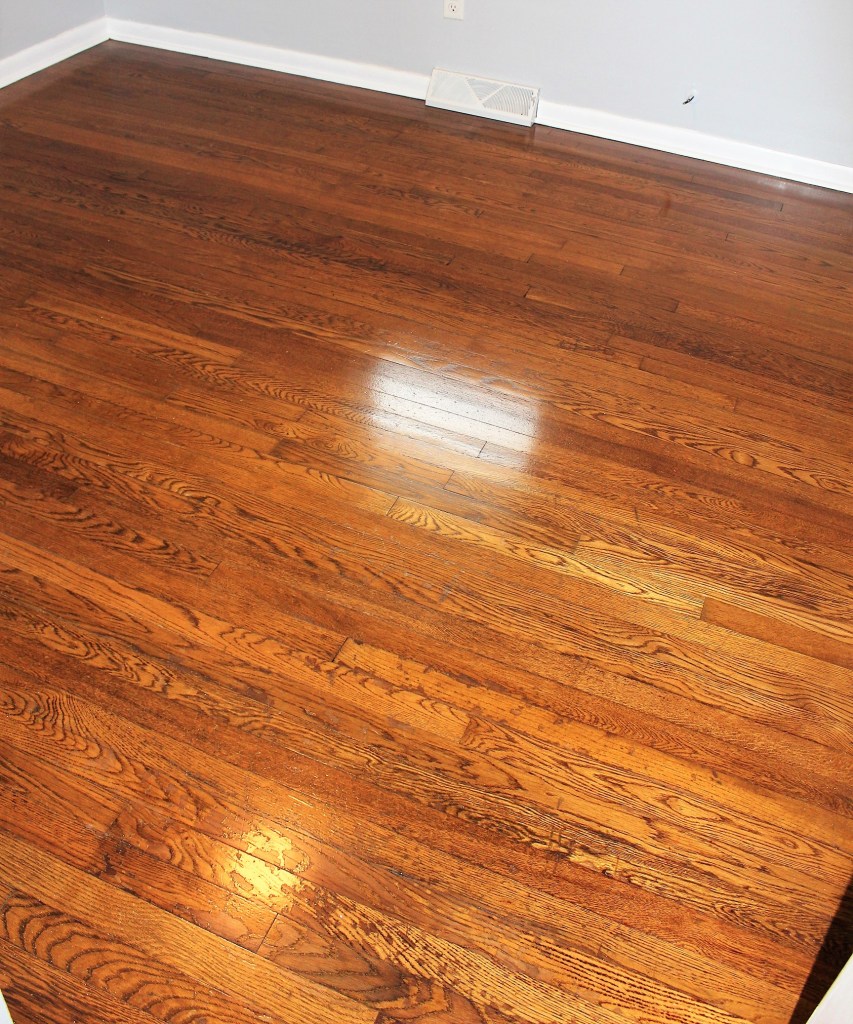
- Once the initial coat is dry and ready for the next coat repeat step 4. We just went with 2 coats for this project as we were just wanting to extend the life of the floors until we are ready to sand them back and refinish them completely. Bare floors usually call for at least 4 coats and some professionals suggest up to 7 coats. We think 2 quick coats of poly on this floor really made a huge difference. Tell us what you think!!!!
For a more in depth explanation of refinishing hardwood floors take a look at our “Refinishing the Hardwood Floors” post from July 9th 2020, when we worked on our first live-in flip!
Be sure to subscribe to our blog to receive the latest posts when they go live! You won’t want to miss next week, where we share before & afters!! Thanks so much to everyone who is supporting us on our journey!

What a difference- the floor looks great!
LikeLike
Thanks SO much! Can’t wait to show you the before and afters next week!
LikeLike
Wonderful information for those who have wood floors! The floors look so much better after the application. Great Teamwork!
LikeLike
Thank you! Can’t wait to show you the finished product next week!
LikeLike
Those floors look really good!
Elke
Sent from Windows Mail
LikeLike
Thanks Elke! We’ll touch base soon to make plans! Stay Safe. D&Z
LikeLike