Our Unbelievable Journey
A couple getting out of the rat race through flipping homes and investing in real estate.
time for the kitchen part II

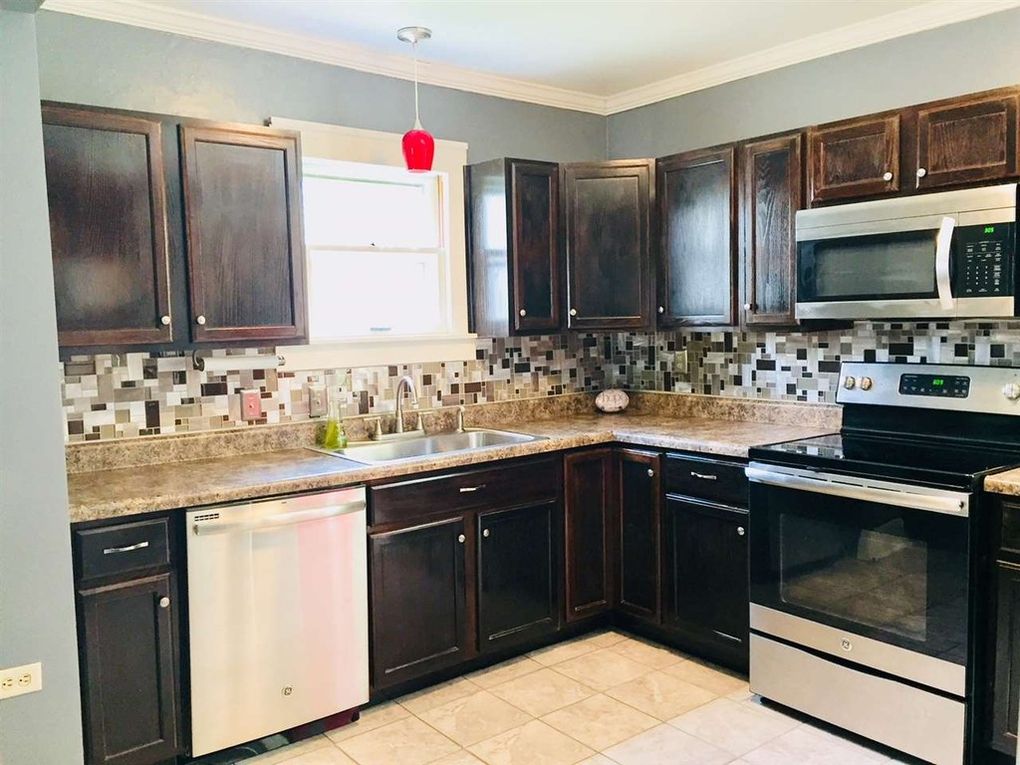
We decided to set the counters, sink and faucet in order to have a “functioning” kitchen before starting the floors. We went with a Sterling Southhaven single bowl sink and a Project Source Pull down two handle faucet. If you haven’t read “Time for the Kitchen Part I” yet take a few minutes and check that post out first!
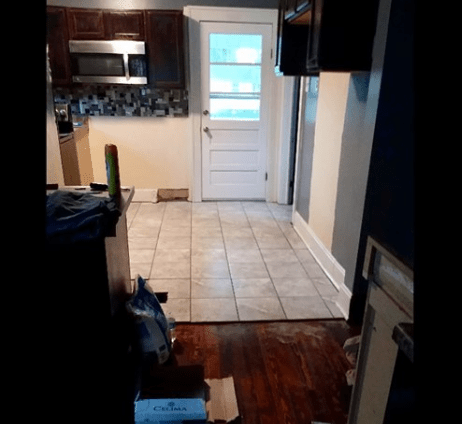
On to the flooring project…we were planning to redo the hardwood floors throughout the house, but once we pulled up the carpet, (yes, there was carpet in the kitchen) we discovered the black tar paper underneath. We had tried for quite some time to remove it with drills and wire wheels, but when we found sub floor under the tiles we had to take a different approach. Plan B was to lay tile flooring. Staying on a tight budget, we picked up an inexpensive tile we found at Lowes.
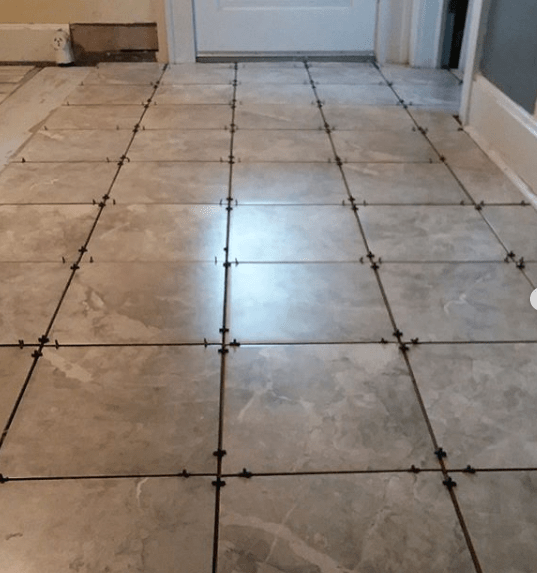
Danny installed Hardy Backer Board on the floors and got to work laying tile the following day. Laying the tile went pretty quick as there weren’t a lot of cuts to make. The trick on this floor was the lines. We had to have good straight lines as you could see the kitchen floor from the living room. Danny used 3/8 inch tile spacers from MD Building Products to get the tiles to lay straight.
The next day was grout day! We were one step ahead of the game as we had already learned that you definitely do NOT let the grout dry before you wipe it off. So, working in a 3 foot square, the gout went on. We left it to dry for about 10 minutes and wiped it off. Once the next section was grouted we would go back to the previous section and wipe it a second time. The key to wiping grout off is keeping your water clean. You will need to change out your water frequently in order to battle grout haze. We found that the easiest way to do this was with a 5 gallon bucket of water and grout sponges.
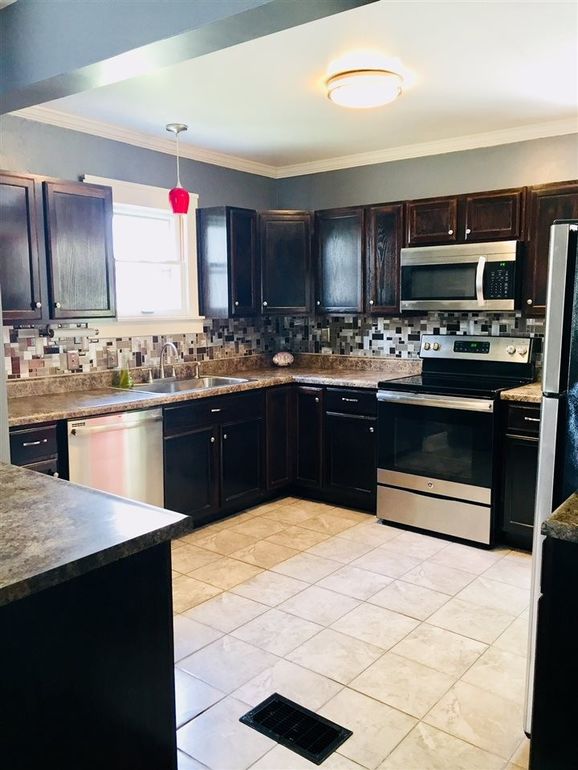
The backsplash was a Memorial Day weekend project. Since we hadn’t laid backsplash before, Danny watched a few YouTube videos before getting started to make sure he knew what he was doing. It didn’t take too long as we used mosaic tile and worked on the project together. As Danny put grout in, I went along and wiped the excess off with a wet sponge making sure to change the water out frequently. The tiles went right up and this install was pretty easy with little to no fuss at all!
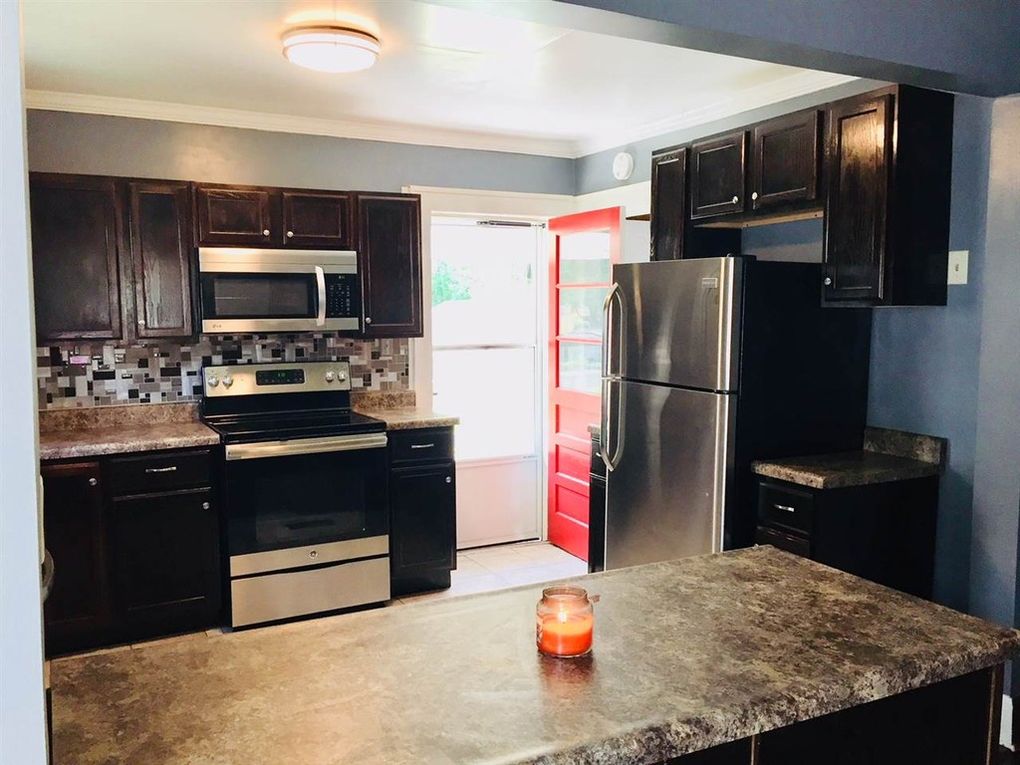
The last few items were pretty small and easy finishing touches. We installed new lighting in the center of the the ceiling and replaced the old light fixture over the sink with a simple pendant light. We decided that the red light shade would bring a nice pop of color. We installed quarter round on the baseboards to give the floors a finished look and decided to paint the outside of the back door red to match the front door and the pendant light.
All in, this project went pretty smoothly and no real horror stories to tell but we gained a little more experience and a lot more confidence! This project seemed pretty daunting when we started out but we knew if we plugged away and kept at it, we would have a nice updated kitchen in the end!
Next up, we learn how difficult it is to refinish hardwood floors!

Please make sure you follow our blog and sign up to receive email alerts every time there is a new article posted! You don’t want to miss out on the latest!

Very nice job you two👍👍
LikeLike
Thanks SO much Regina!! We much appreciate your support and continuing to follow along with us:)
LikeLike