Our Unbelievable Journey
A couple getting out of the rat race through flipping homes and investing in real estate.
refinishing the hardwood floors!

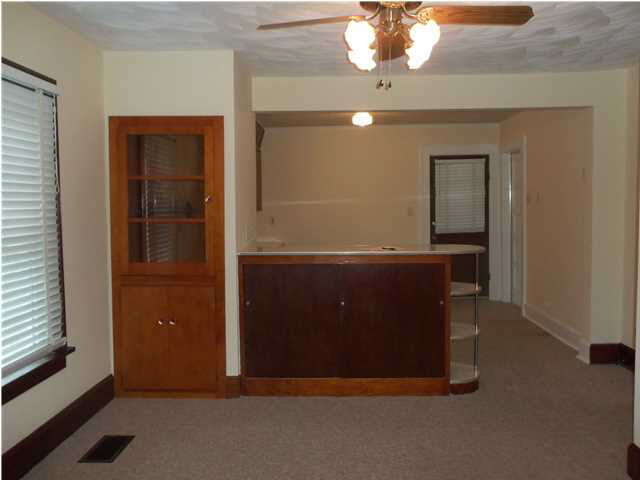
When we bought the house on Sunset, we new there were hardwood floors under the carpet in the living room and dining room, but we didn’t know what kind of shape they were in. We pulled up the carpet (there was no padding installed) and to our horror found that there was cheap ugly tile hiding under the carpet in the dining room. The floors in the living room were actually in good shape. We decided to pull the tile up so we could see what the floors looked like. That’s when we came across the biggest hurdle of all during this process-BLACK TAR PAPER!
The tiles were installed using a black tar paper as an adhesive! That stuff was not going to come off easy. We tried sandpaper with no luck. The tar paper just got caught up in the sandpaper and we quickly realized sandpaper wasn’t going to work. Since the drill and wire wheel method worked so well in the bathroom project we decided to take that same approach here. We had recently purchased a Black and Decker drill for the bathroom, but had also just purchased a Dewalt Hammer Drill for another project we were working on. We bought a few wire wheels and decided that we would try to see if we could get back to the original floors.
We had moved out of the house on Sunset at this point and had moved into our next live in flip. (Stay tuned for some really great stories on the Southside project house!) This made refinishing the floors a lot easier as the house was completely vacant and the floors had no furniture to work around. We would get home from work, eat dinner, change and head over to spend a few hours working on the floors in the evening. There was at least a week trying to get the tar paper off, but we knew we just had to get this done so we could move on.
So, this could have been a lot worse than it was, but was quite scary! We were using the drills with the trigger lock on and while using the wire wheel, it got caught in my shirt and it was wrapping around my shirt quickly! In a panic mode, I tried to pull it off of me while the wheel was still running up my front. In Danny’s quick thinking, he reached for the power cord and unplugged it! I still have the scar today on my arm as a reminder of being careful when using power tools. It also made me take the precaution of pulling my hair up as well so that it never gets caught in anything!
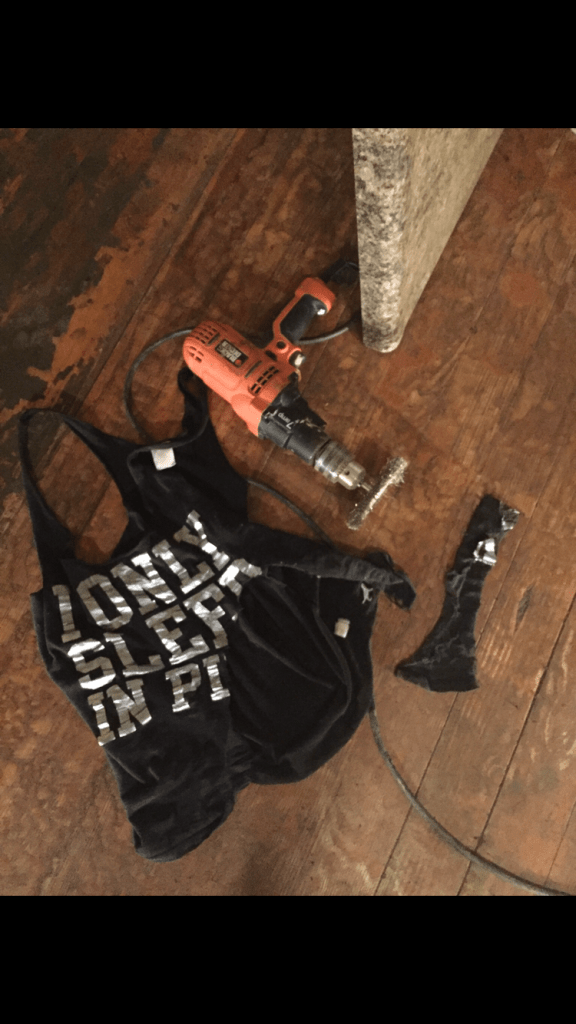
YIKES! 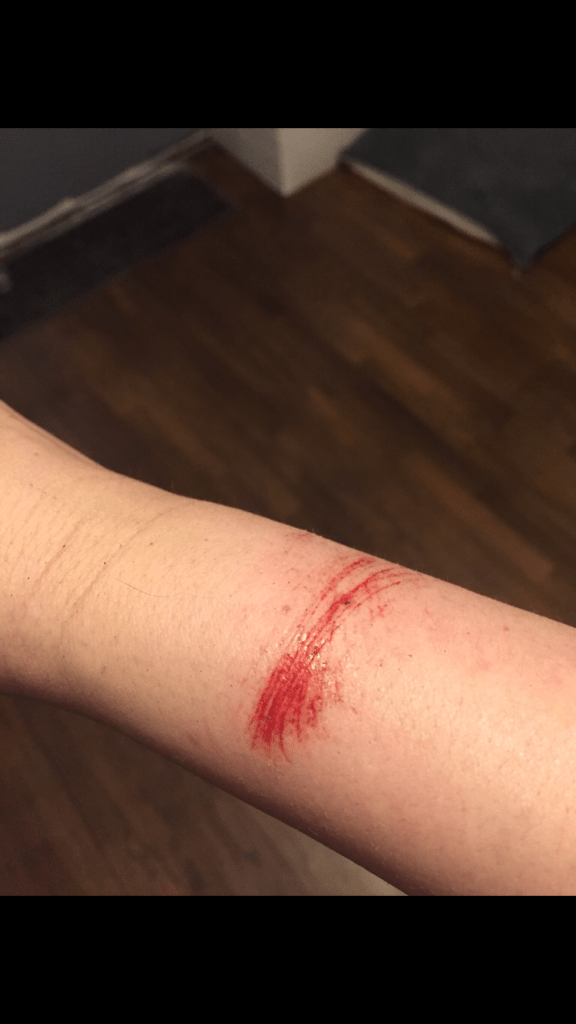
Once we got the tar paper up, we decided to rent a floor sander to get the floors back to bare wood. We started with a highly abrasive 36 grit sandpaper for the first step in sanding. After we had all of the floors sanded and back to a “naked” state, we repeated that process using a 60, 80, and 100 grit.
Once the floors were sanded back we needed to use a hand sander to sand back the edges of the room to avoid getting a “picture frame” around the outside edges. A good orbital sander did the trick but it did take some time and effort (Danny used a Dewalt Sheet Sander). You can get them pretty inexpensively and we picked ours up at Lowes for $50. Once we sanded back the edges to bare wood, we had to tackle the important process of removing the dust! It was everywhere (including all over the walls, windows, blinds, etc!). We swept what we could up, the used the Shop Vac to get the rest. Once we were at this point we pulled all of the windows open and wiped the floors clean with mineral spirits and clean lint free rags. You’ll want to change out your rag very often as the goal here is to remove the dust and not just move it around.
When we had the floors clean and prepped we picked out our stain, Minwax Espresso, and picked up our supplies. Lowes had everything we needed. We used a Minwax 10 inch Lambskin pad on a 10 inch applicator. We just bought steel paint trays to pour the stain into for application and had a lot of lint free rags on hand to wipe the excess stain off of the floor.
The staining process is relatively simple and straightforward. Wipe the stain on using the applicator, and work a section small enough that you can go back in a few minutes to wipe the excess making sure you follow the grain of the wood. Key points: Always wipe with the grain of the wood and don’t “paint yourself into a corner” (and don’t wear good clothes or socks because they will be stain covered). We started at the point farthest from the “exit” and worked our way in the room towards the door. Apply, let sit, wipe up, move on to the next section.
We moved room to room working our way from the second bedroom (the farthest point from the from door) to the dining room. Once the dining room was stained we moved into the master bedroom and then finished with the living room. Once we finished staining the living room we just gathered our supplies on the porch, locked up the house and went home for the night.
The next day we started putting our poly coats on. If you tackle a project like this you will want to put at least five coats of poly on, but we prefer to do seven coats. Seven coats will give you a deep shine and will be a thick layer of protection that will stand up to wear and tear better, especially if you have pets. We used Varathane Water Based High Traffic floor polyurethane that we bought at Menards ($42/gallon) for this process. We stuck with the Lambskin pad on the 10 in applicator. Since we were doing this in the evenings after work, we would head over after dinner and put a coat of poly on the floor each night. Poly goes on almost just like stain except you don’t wipe the excess up. Just work with a wet edge, go with the grain of the wood and apply in thin layers. Several thin layers is better than one thick layer! We did this every day for 7 days. At the end of the fourth day we could really tell a difference, but at the end of the 7th day all we could say was wow! “What a difference!!”
Thank you all for following, and if you haven’t followed our blog yet you can subscribe via email and receive our latest posts directly in your inbox!

BEFORE 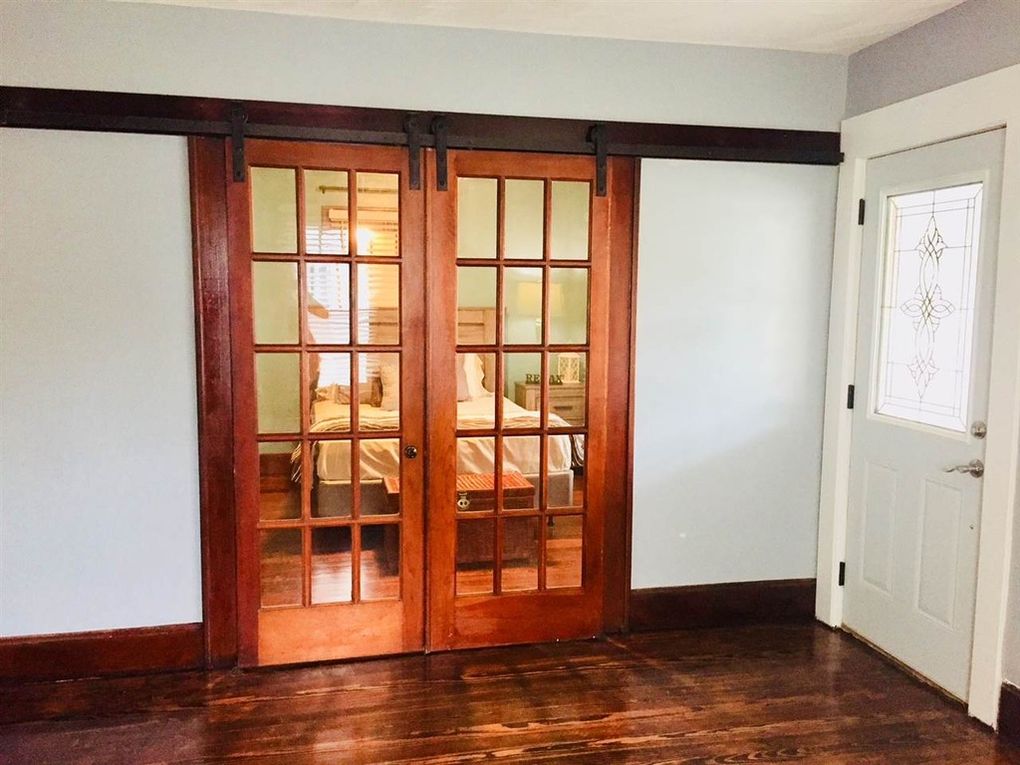
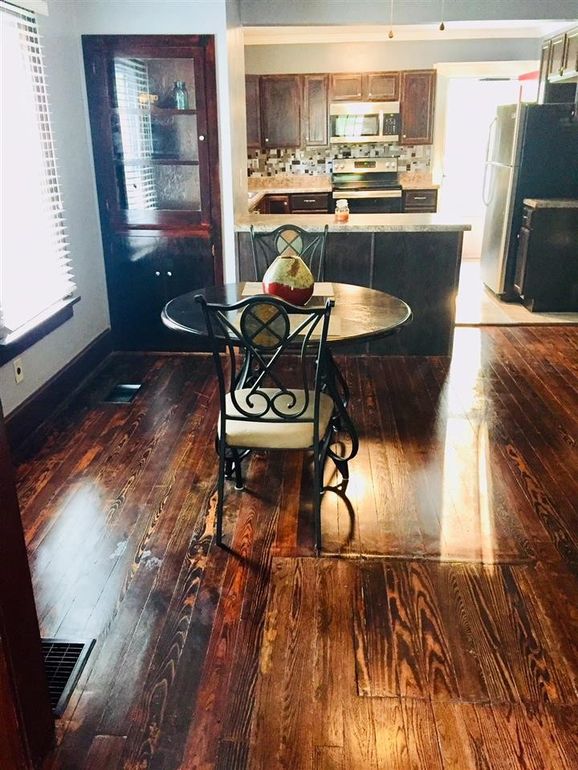
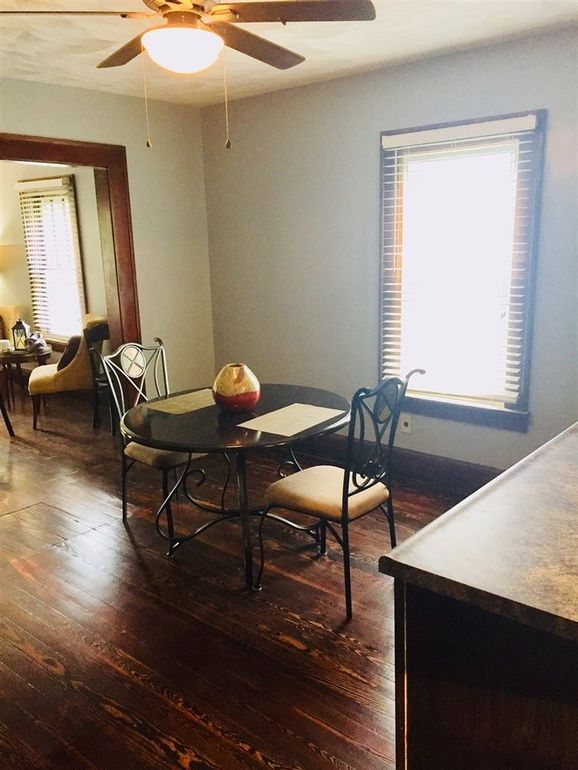
AFTER 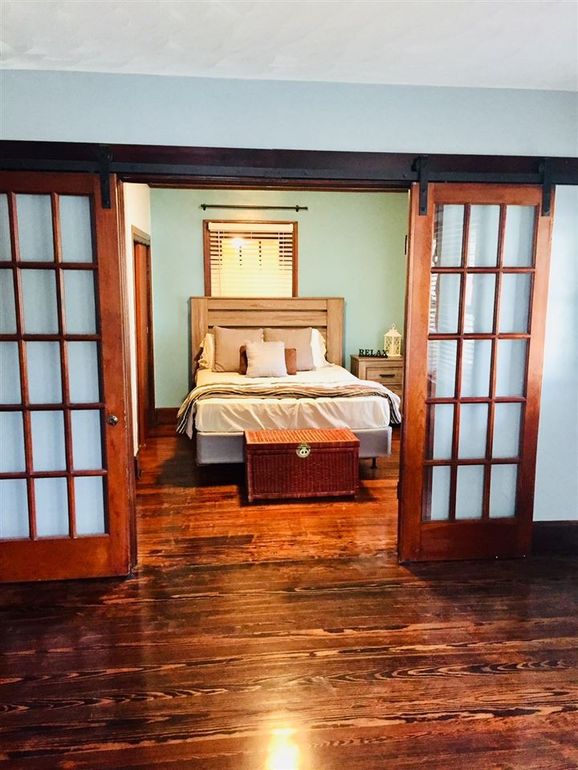
AFTER
BEFORE 
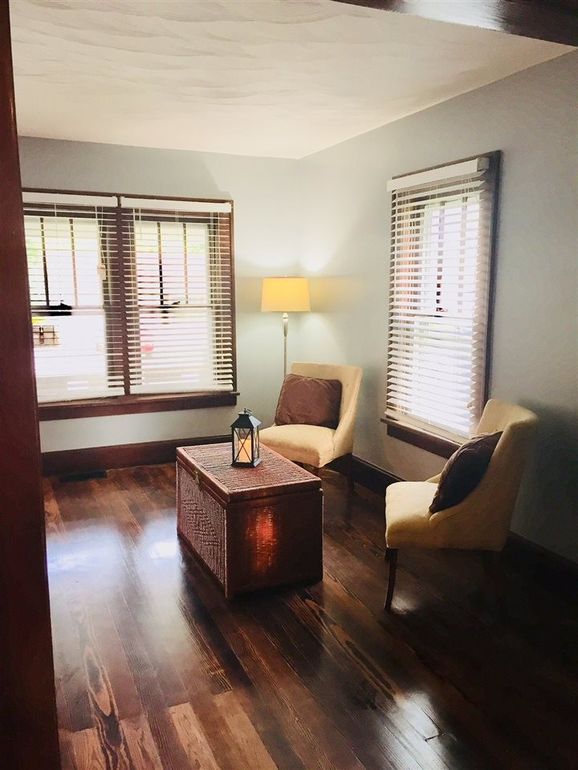
AFTER
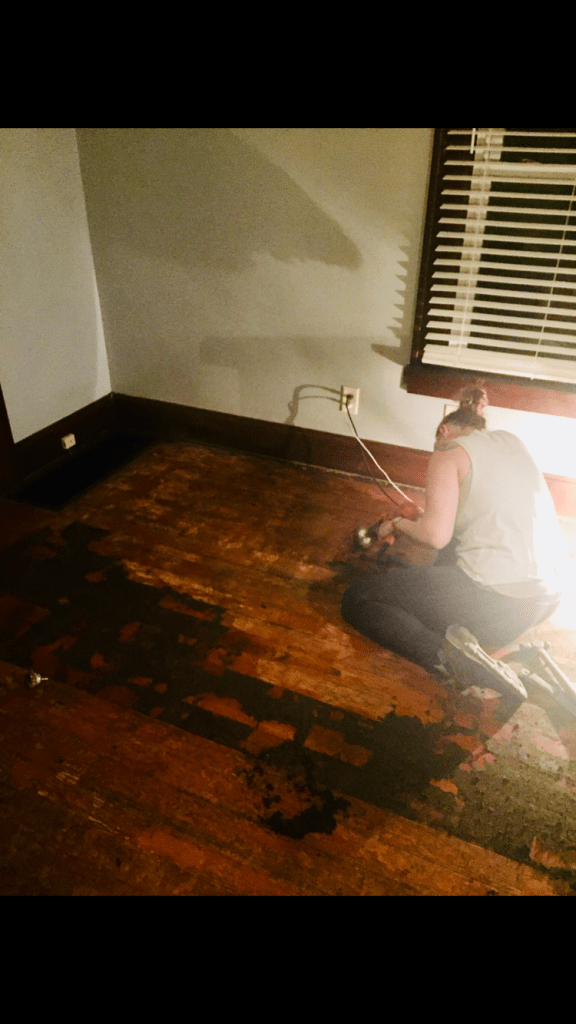
REMOVING TAR PAPER 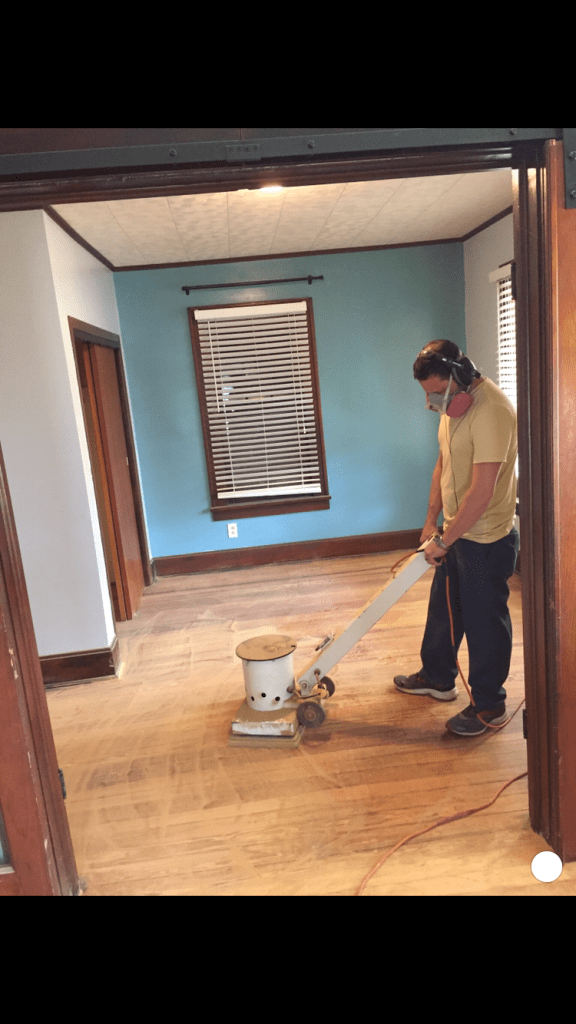
SANDING THE FLOORS 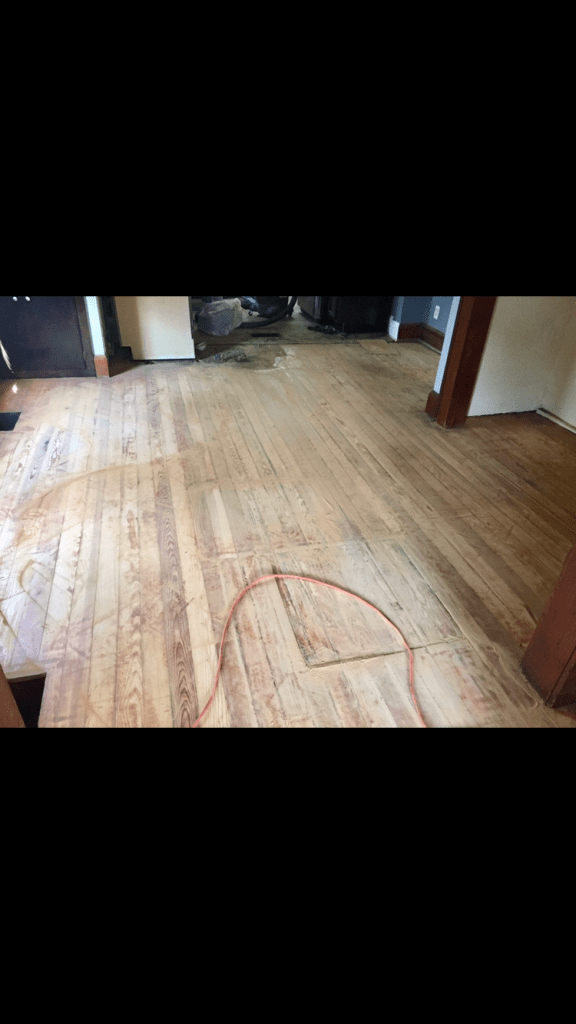

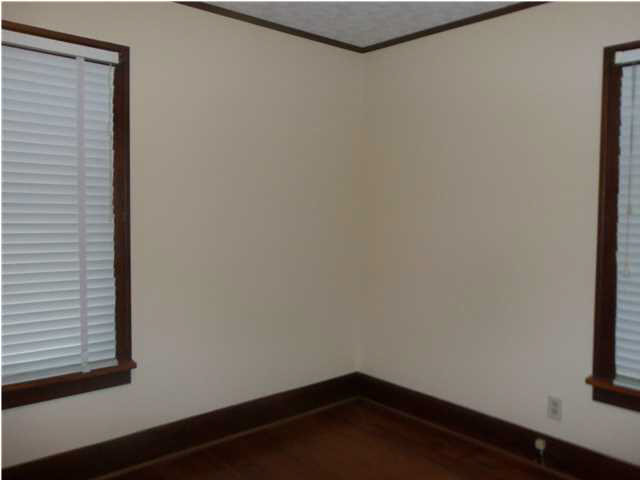
2ND BEDROOM BEFORE 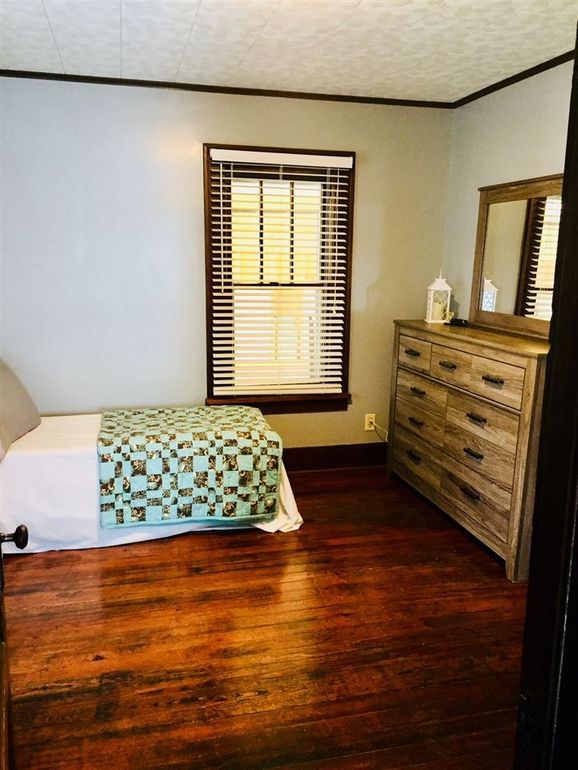
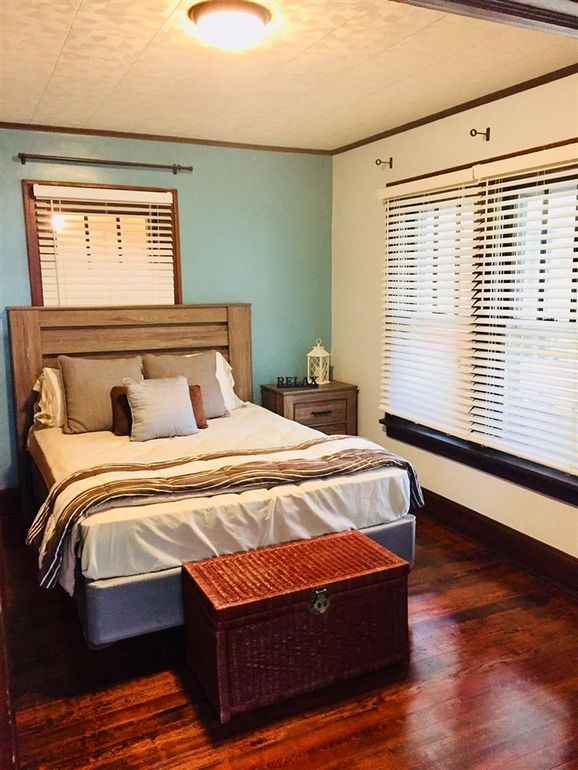
2ND BEDROOM AFTER

Wow, those floors look amazing!! And I love the French doors on the bedroom!
LikeLike
Thank you Sally! Wait until you see Grand’s floors! That will be one of our future flipping stories:) That was a fun one! Thanks for following along on our journey!
LikeLike
Amazing! ❤️
LikeLike
Thank you Cindy! We appreciate your feedback and support:)
LikeLike