Our Unbelievable Journey
A couple getting out of the rat race through flipping homes and investing in real estate.
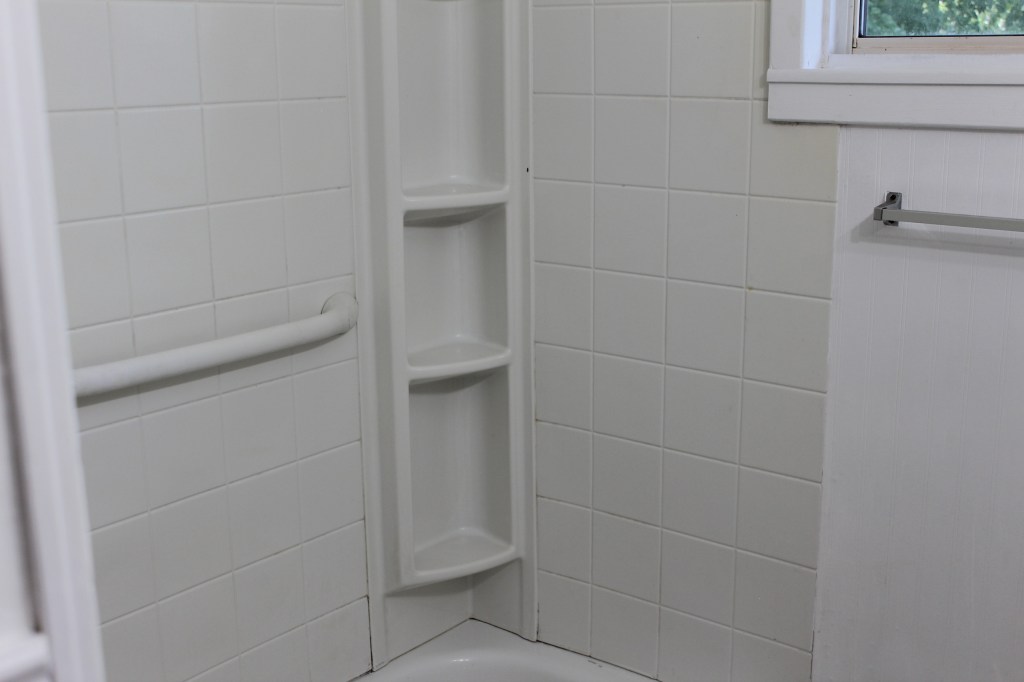
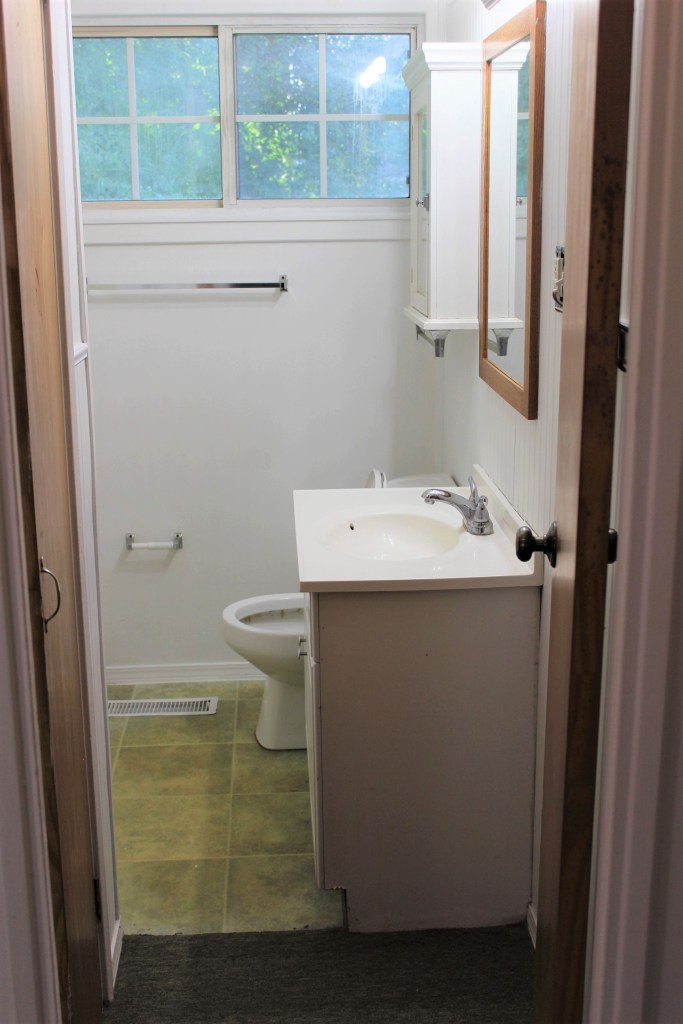
BEFORE AND AFTER: BATHROOM

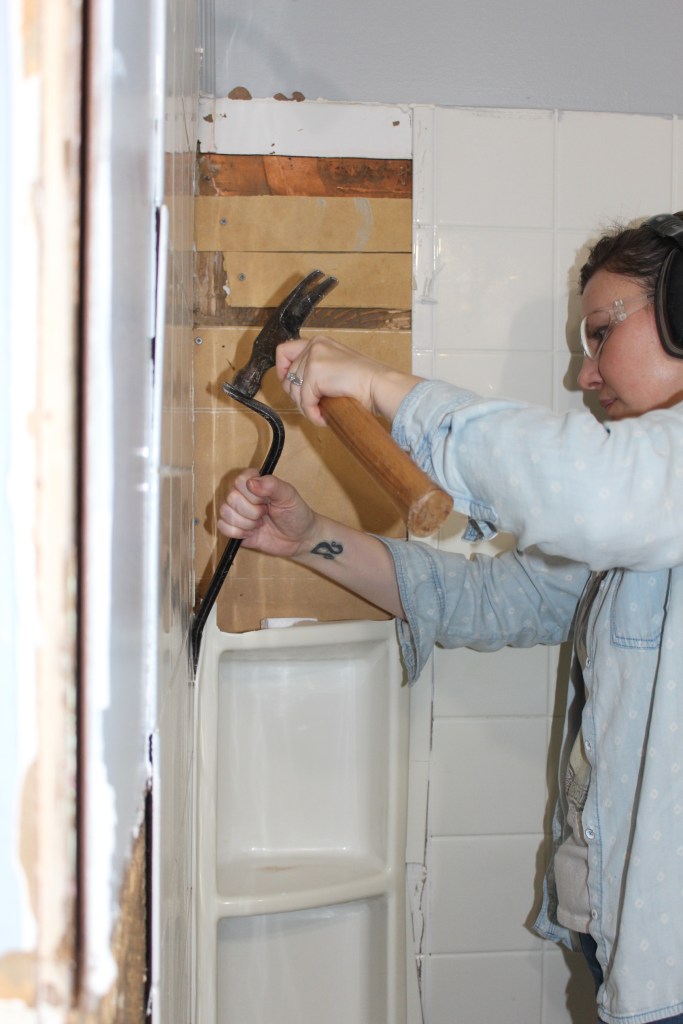
We knew the bathroom would have to be completely gutted. We started by removing the bead-board panels and tub surround. To remove the paneling around the bathroom, I used an oscillator saw to cut it out and remove as much as possible before Danny took out the sink and toilet. To take out the tub surround, I used a crowbar, a utility knife, and a hammer.
The surround was really tough to get out! There was so much glue behind it, the plastic would just break and chip while trying to get it out. Slowly but surely, I got it out, but not without a fight!
Before we started installing the new floors, the sink, baseboards, and toilet had to be taken out. The old flooring was also pulled up and the floor was swept clean. You have to make sure that all debris is cleaned up off of the floor. Anything left on the floor could create a hard spot underneath that will create wear on the new floors.

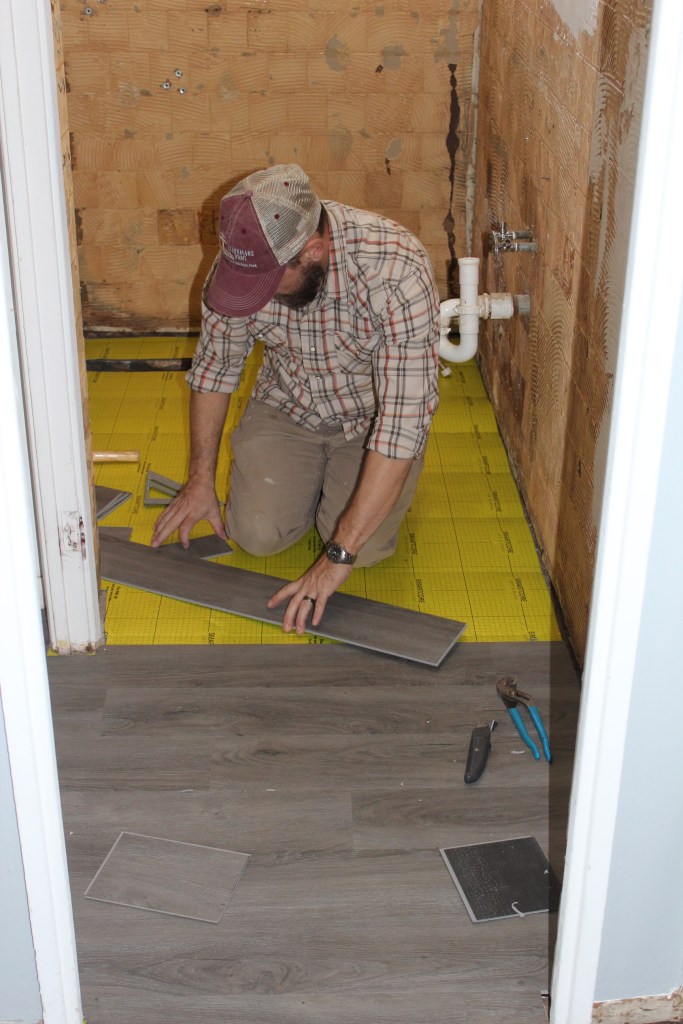
Danny starts the floor installation by cutting and placing an underlay, using Smartcore from Lowes. He likes using Procore vinyl flooring, as you can cut it with a utility knife and install fairly quickly. Once the underlay is in, Danny measures and cuts the flooring.

He is always careful to make sure that each piece is fully seated both at the front seam and the seam on the sides. You don’t want to leave a gap, as this is what locks the floors together and keeps everything looking like it was professionally installed. You will also need to leave a gap on the outside edges to allow for movement between hot and cold temperatures.
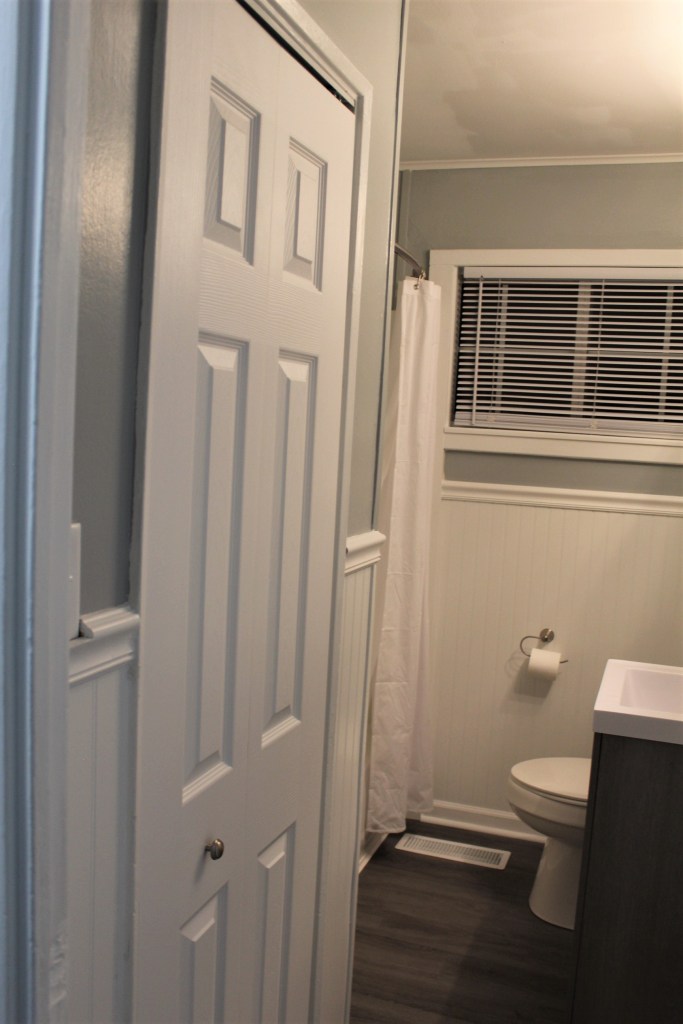
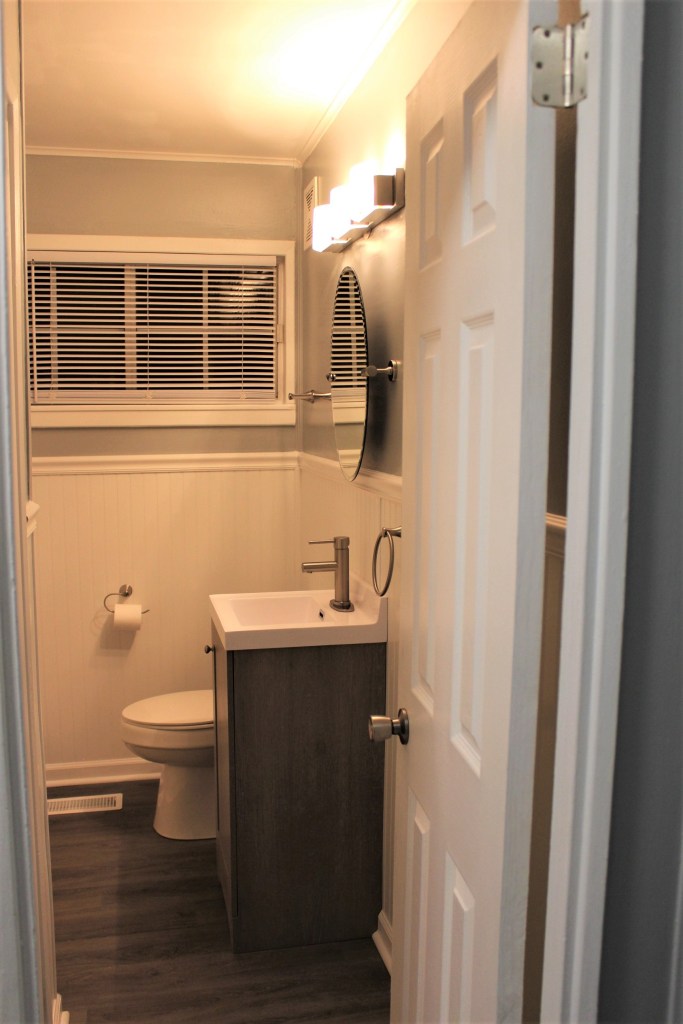
We installed a new bi-fold closet door, bathroom door, sink and vanity cabinet, faucet, new tub, surround, blinds, register, curtain rod, curtain, mirror, lighting, fresh paint, and anything else that needed replaced! Details are important to pay attention to when renovating! We also like everything to be CLEAN and WHITE! Contrasting of dark colors up against white makes things pop!
For a more in depth look at flooring installation revisit our “Next Up…Flooring” post and for a look at some of the obstacles we had to overcome in our bathroom remodel, you can revisit our “Facing Obstacles” post!!
Be sure to subscribe to our blog to receive the latest posts! Thanks to all who are following along with us. We appreciate your support!

Looks very nice!
LikeLike
Thank you!! We love grey and whites together:)
LikeLike