Our Unbelievable Journey
A couple getting out of the rat race through flipping homes and investing in real estate.
NEXT UP…FLOORING!

So we decided to go with Wood Plank Vinyl Flooring because it looks great, is relatively low maintenance, and is pretty durable. SO for a rental, this is perfect! We picked up ProCore Legacy Oak Vinyl Plank Flooring at Lowes, and also decided to use SMARTCORE Soft and Sound Underlayment for this project.
Laying flooring is not as simple as putting the underlay down and clicking floor pieces together. It does take some prep work and planning. However, I have found that laying these vinyl floors are pretty simple and fun to do.
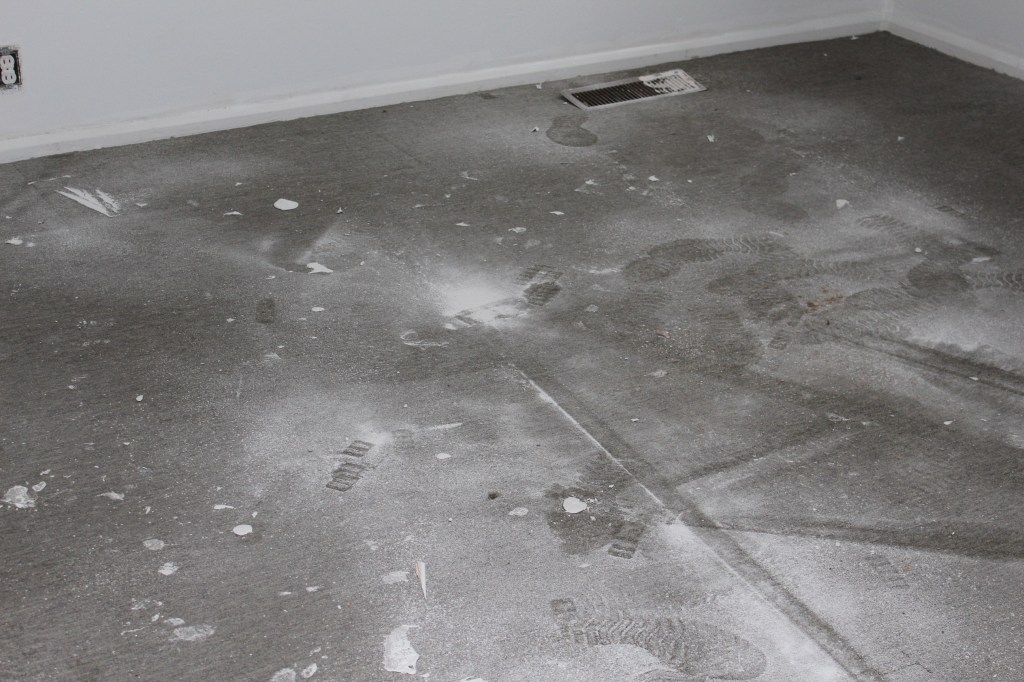
First thing to do is to get the floor back to “bare”. This means previous flooring (in this case carpet) has to come out and pad has to be completely removed. You need to get to a flat, clean, bare floor and make sure there is nothing sharp left on the floor. In this project, we noticed that there were old tiles that were previously installed. We decided to keep these tiles and just lay the floor over them. Keep in mind, it is REALLY important that you have a flat surface! We had to fill in some areas that had missing or broken tiles. To address this problem, we purchased cheap vinyl tiles called Armstrong Flooring at Lowes. We glued them in the places that needed to be leveled out.
You will also want to remove the baseboards before beginning to lay flooring.

Living Room-Before 
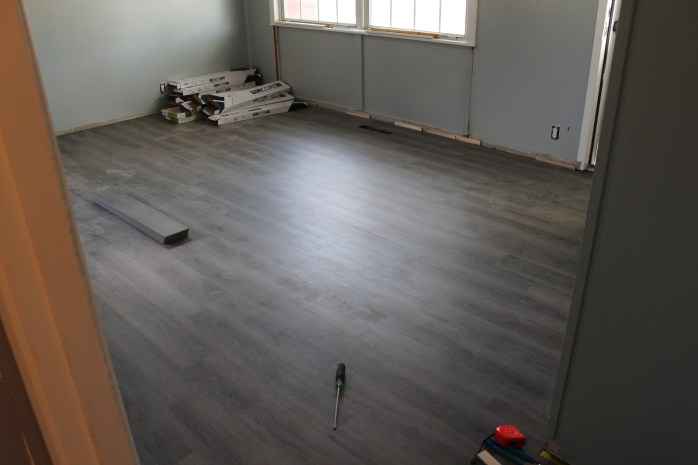
New Flooring
Next we swept the floors, picked up trash and Danny used a ShopVac to vacuum the floors to clear any loose debris. If you happen to leave sharp particles behind, it could cause uneven wear or holes in the new floors!
Once the floors were clean, we cut and laid the underlay. Danny planned out the flooring process starting in the Living room. He laid out the planks to see where and how they would fit together side to side. He also looked at how they would lay front to back of the living room.
When making your flooring purchase don’t forget to buy the underlay tape. This helps to tie the underlay together and keep it in place so it’s not shifting underneath you.
Bedroom- Before 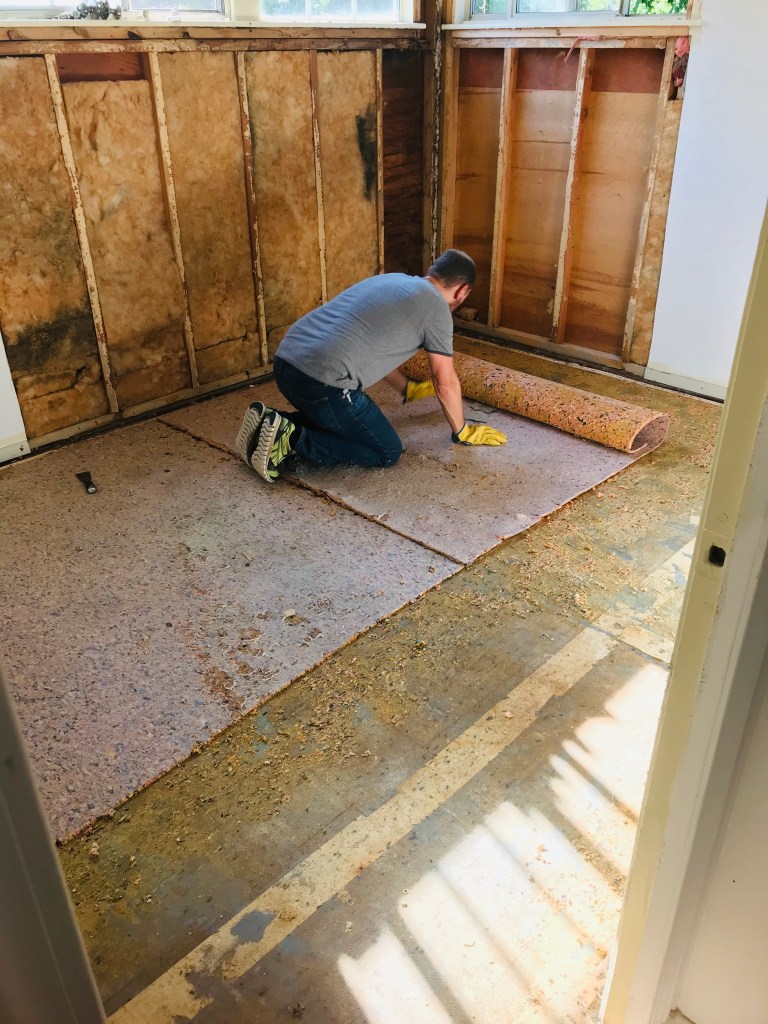
Bedroom-Before 
Bedroom-New Flooring
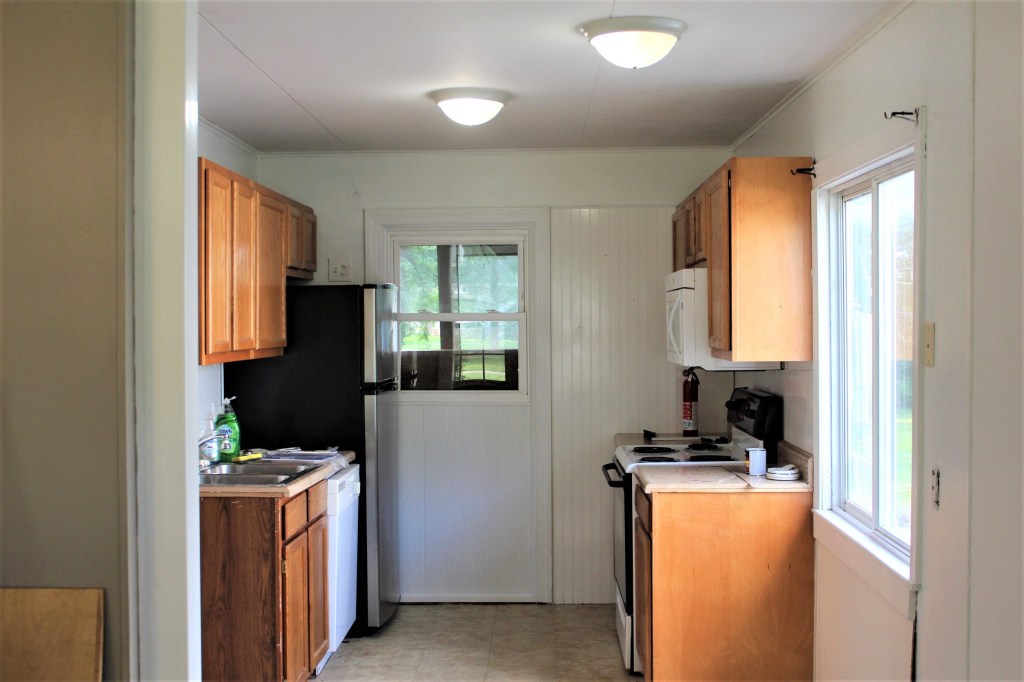
Kitchen- Before 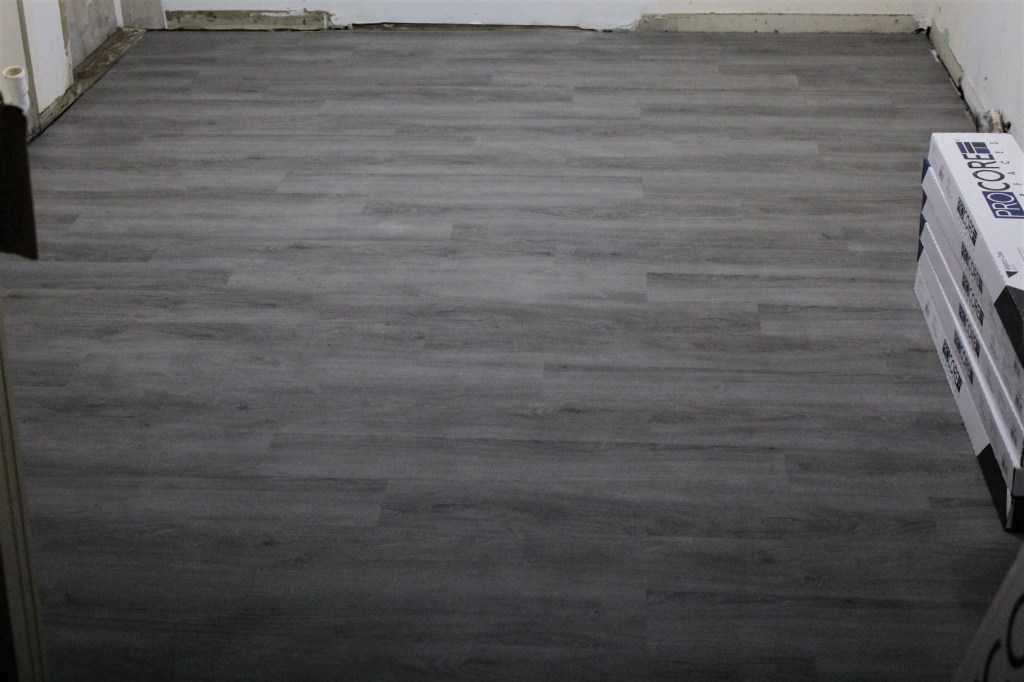
Kitchen-New Flooring
Once the plan was laid out, we started laying the new floor in the living room. One of the things that makes these floors easy to lay is that to cut a plank to fit, you simply score it with a razor knife (I used a Kobalt) and snap the excess off. Make sure to shim the edges to keep a gap of 1/4 to 3/8 inch to allow for expanding. You will also want to stagger each row by at least 6 inches so the seams don’t follow a straight line.
A worthwhile investment and items needed for this project
Speed Square
Fine point marker
A good boxcutter with plenty of replacement blades
Tape measure
White rubber mallet
Oscillating Saw to cut off the door frames.
A pair of knee pads. (This will take a toll on your knees and ankles!)
Once your all geared up and ready to go, I suggest watching a couple of YouTube videos to get yourself familiar with the process. Danny watched a helpful YouTube video to see how to lay flooring called “Fix This Build That“, “How to Install Vinyl Plank Flooring as a Beginner | Home Renovation” https://www.youtube.com/watch?v=6KEthELQfro
Be sure to follow along and subscribe on our blog to receive the latest posts! Thank you to all who follow along!

The new flooring looks great! Thanks so much for sharing all the helpful tips and links!
LikeLike
Thank you! We’re so glad you found it helpful!
LikeLike