Our Unbelievable Journey
A couple getting out of the rat race through flipping homes and investing in real estate.
INTERMISSION…PROJECTS PROVIDED BY DANNY

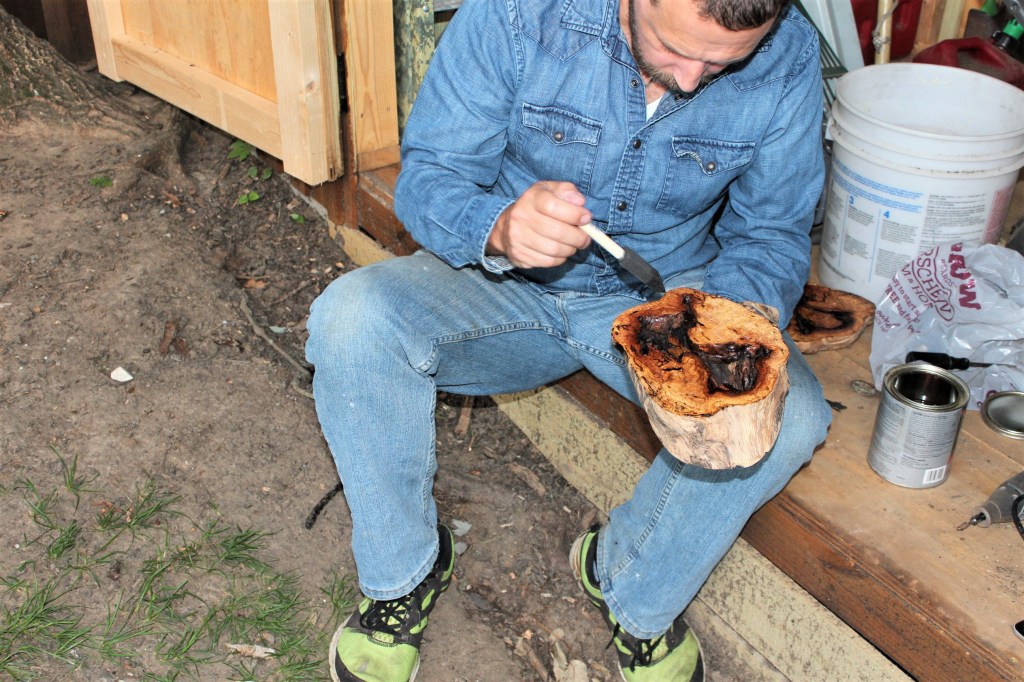
This side project will be a rustic bottle opener. I found a rather interesting piece of oak that I thought I might be able to make into a few different pieces. The first step was to cut a nice thick section of wood off of the main piece. I didn’t have a table saw large enough to cut through the piece so I opted to make this cut by hand. I used a Vaughan Bear Saw to make this cut. It did take some time and effort but this saw cuts on the pull action instead of the push action which made this process a little easier.
Once the cut was made I used an Old Timer Sharpfinger knife to de-bark the outer edge After the outer edge was de-barked I used an 80 grit sandpaper to knock off what was left of the bark to get back to bare wood. I then sanded again using a120 grit sandpaper and then finally used a 220 grit sandpaper to finish prep work.
For the flat surfaces I again used an 80 grit sandpaper to level out any high or low spots to get a flat surface. You always want to sand your wood in stages. On sandpaper, the lower the grit the more abrasive it is. So an 80 grit paper is more abrasive than a 220 grit. For this step I used a Dewalt Sheet Sander and followed the same stages that I used on the outer edge. 80, then 120, then 220.

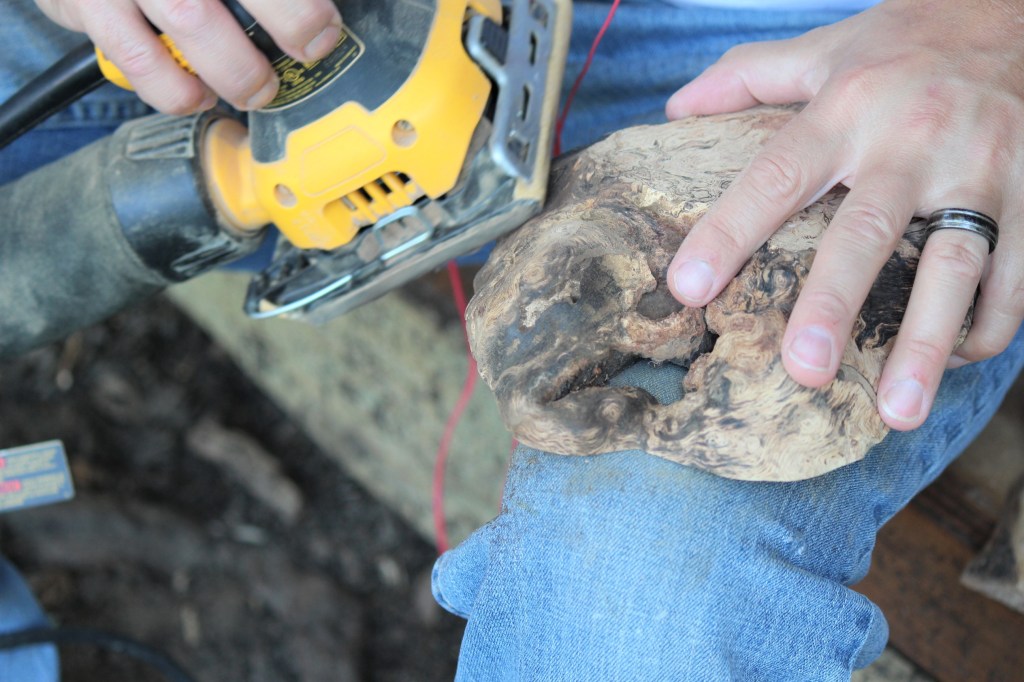
Once the surfaces were sanded smooth, I had to deal with the bug marks. I like the look that the marks bring to the piece but I wanted to clean them out to bring a little more attention to them. To do this, I simply used a Gerber Para Frame pocket knife to dig out the sawdust left behind by the critters.
At this point I was ready to prep the surfaces for finish. You need to get rid of as much dust and debris as possible. I cleaned the surfaces of with a clean lint free cloth and some mineral oil. You will want to wipe your piece clean so this may take several cloths to get your piece clean.
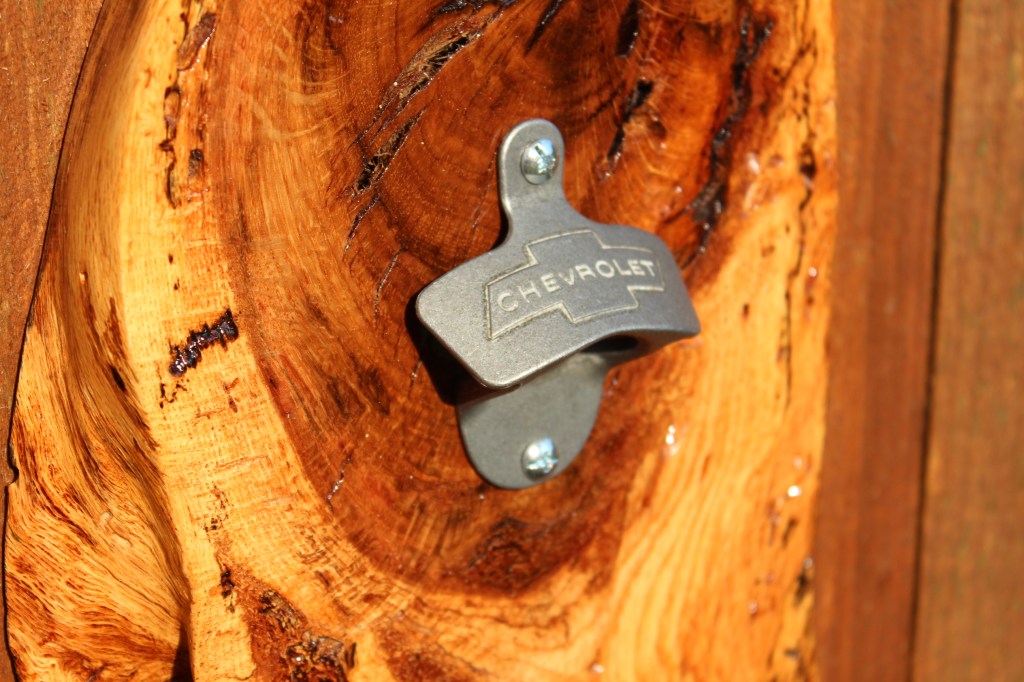
I was just going to give this a natural look so I decided to apply a few coats of polyurethane to give it a nice shine. Minwax Polyurethane is a product that I have used for years and find it to be fairly easy to work with and it gives me a great result.
To apply the poly coat, I use a cheap 1 inch foam brush. You want to apply a THIN layer of poly here. Several thin layers are better than one thick layer. You don’t want to fight runs and drips in your finish coat. Follow the dry times listed on the back of your polyurethane. Once your coat is dry, it is important to lightly sand in between coats using a fine grit sandpaper. I used a 400 grit sandpaper between each coat of poly. Once you have sanded the piece wipe clean and apply another coat. After applying 5 layers of polyurethane, I had achieved the look I was after.

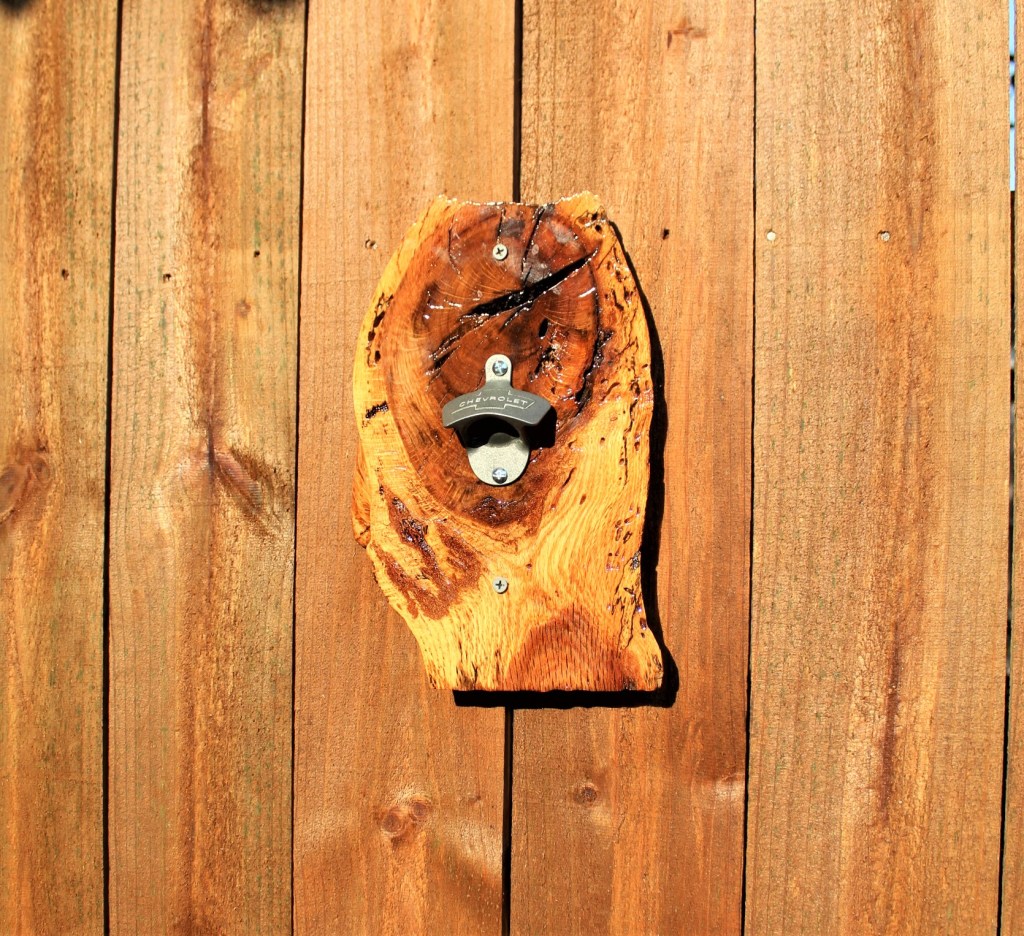
I purchased a bottle opener from Tractor Supply that was on clearance to use. I drilled out mounting holes using my Bosch Cordless Drill and a 5/32 inch drill bit. I then had to counter sink the back side of the hole with a 7/32 inch bit in order to fit a small nut. I purchased some 8/32 x 1 1/2 inch screws and found two small lock washers and nuts in my parts bin.
After I had mounted the bottle opener onto the finished wood, I needed to drill the holes for the mounting screws. Using my cordless drill I drilled a 7/32 inch hole for the mount screws. I will be using two #10 – 3 inch wood screws to mount this.
Be sure to subscribe to our blog to receive the latest posts! Thanks for your support to those who are following along!

Wonderful job Danny! Love the look you were able to achieve.
LikeLike
Thanks so much! I was happy with the end result!
LikeLike