Our Unbelievable Journey
A couple getting out of the rat race through flipping homes and investing in real estate.
Tying up loose ends

Don’t forget the little stuff!
So after we had all of the major projects done and out of the way we still had quite a few weekend DIY projects that we had to complete before listing the house on the market. We don’t want to just glaze past these because the saying “the devil is in the details” really does apply when you are getting a home ready to put on the market. We still needed to re-stain the built in cabinet in the dining room, install new lighting, including a ceiling fan, landscape, reside and paint the mini barn, repaint the deck, and turn the french doors into barn doors for the bedroom.
The built in cabinet in the dining room did not match the kitchen at all after we had completed the rehab so we decided to see if there was a quick and easy solution that would give this cabinet an update that looked both updated and fresh. We decided to use Minwax PolyShades Espresso on the cabinet. This stain and polyurethane combination will go on right over the existing finish with very little sanding or prep work and will give your piece a nice finish! With a little light sanding to buff out the finish we applied a couple of coats and within a couple of days we finished this small project and made the dining room come together with the kitchen bar.

Before 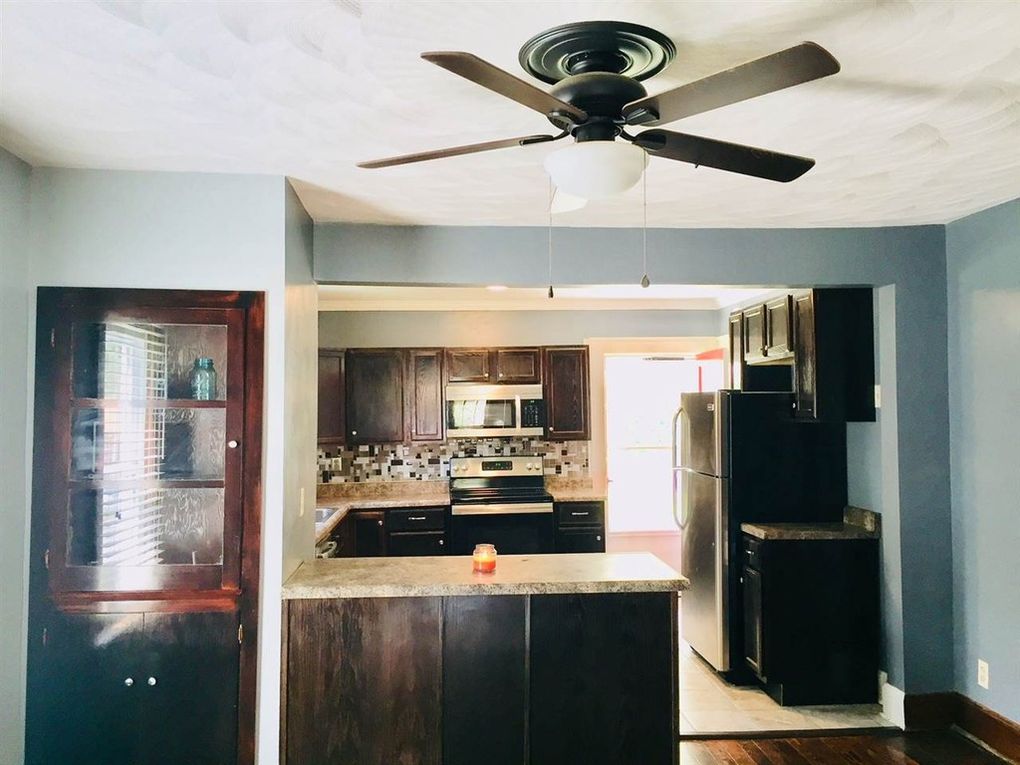
After
Our next “small” project was to repaint the deck. We originally had a yellow house with a red deck. The deck was not working with our new gray siding so we decided to go with a light gray on the deck to give it a finished look. We used a deck paint the we found at Lowes called Rust-Oleum Rocksolid Deck Coat. We power washed the deck on a Friday night and got to work early Saturday morning. I will say that the coverage estimate on the can was pretty optimistic. We bought a couple of cans and a few hours later we were back in the car headed to Lowes to get a couple more gallons! We finished this project on a Saturday and the result was fantastic! Good bye frumpy looking red deck and hello nice a clean gray deck!!
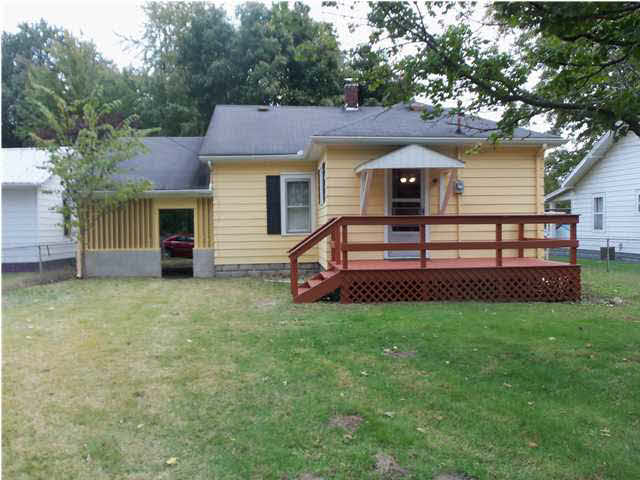
Before 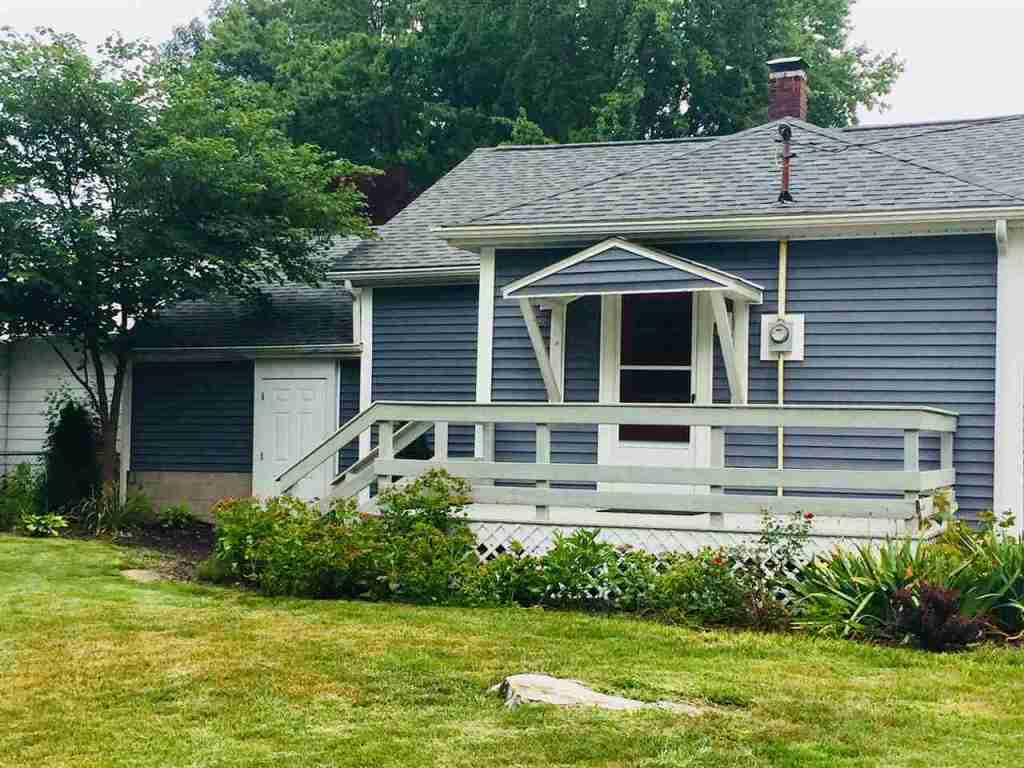
After
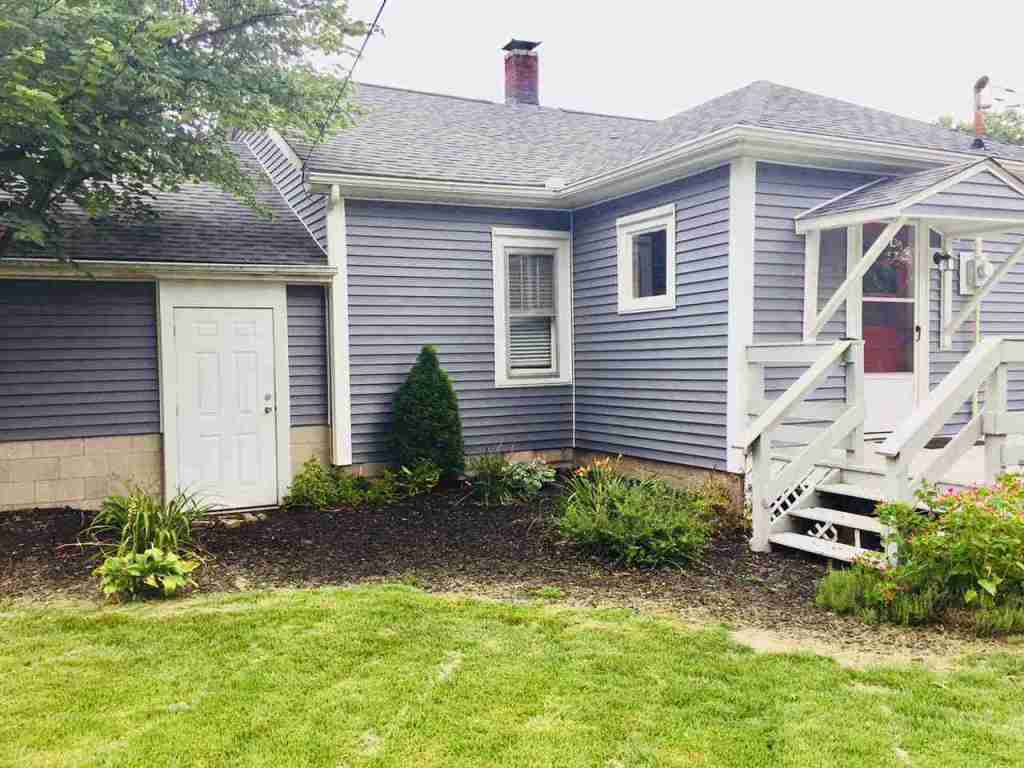
The next project on our list was to re-side the mini barn and paint it to match the house. Our little mini barn was in a sad condition. The siding was not in good shape and made the whole mini barn look pretty bad. We were lucky enough to source some metal siding from an old barn my parents had torn down on their farm. Free is always good, right!? We took the next weekend to fit and cut all new sheets of metal for the sides of the mini barn. Once that was finished it was time to paint the barn to match the house! Another trip to Lowes and we came home with Valspar Exterior paint tinted to match the siding. Once the barn was painted we could see the backyard was finally coming together to be a cohesive and relaxing area to enjoy.
We then decided to tackle a problem that we had danced around the entire time we lived in the house. The french doors leading into the bedroom. The issue was that the french doors opened up into the bedroom. The house also had a Jack and Jill style bathroom, so that meant there was a bathroom door that also opened up into the bedroom. The big issue was that they both opened up at the same place, so there was a good chance that the doors could bang together and break the glass in the french door. We decided that a barn door setup would be a simple and easy way to get around this problem.

Before- French Doors 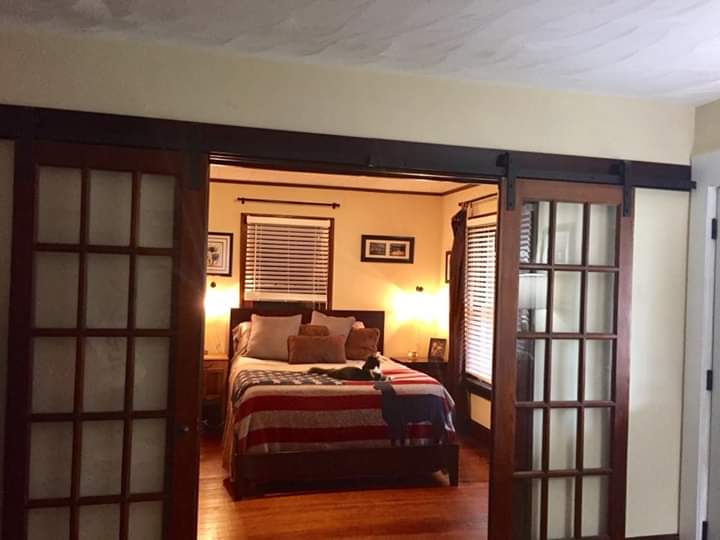
After- Sliding Barn Doors
We once again went to Lowes and picked up some barn door hardware and some lumber. We needed to stain the board to match the rest of the original wood in the house so we continued with the use of Minwax PolyShades Espresso. Danny stained the boards during the week so we would be ready to go on Saturday morning. When Saturday came around we got to work taking the doors off of the hinges. We then prepped the doors according to the installation instructions and within a few hours time had the doors installed, working, and looking fantastic!!
Danny also installed a new ceiling fan just to finish updating the dining room and installed new ceiling lights in both of the bedrooms. We then had to decide what to do with the landscaping.
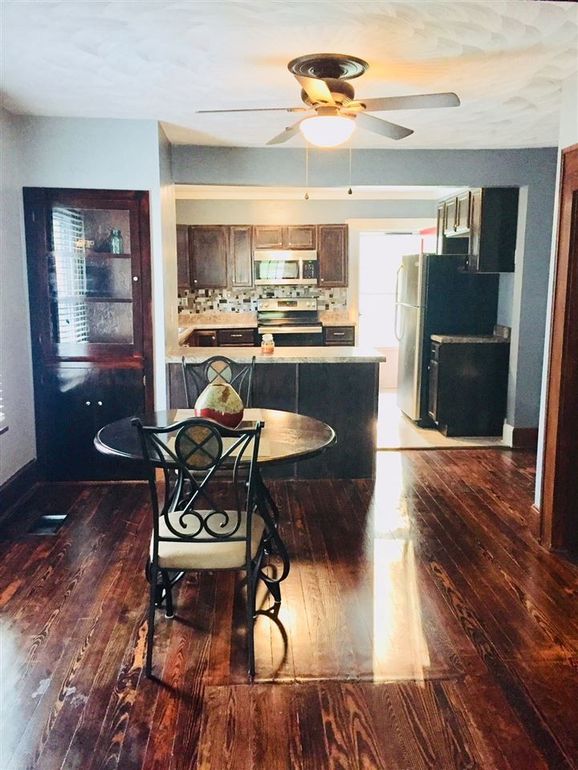
New Lighting to go with the new flooring and staining!
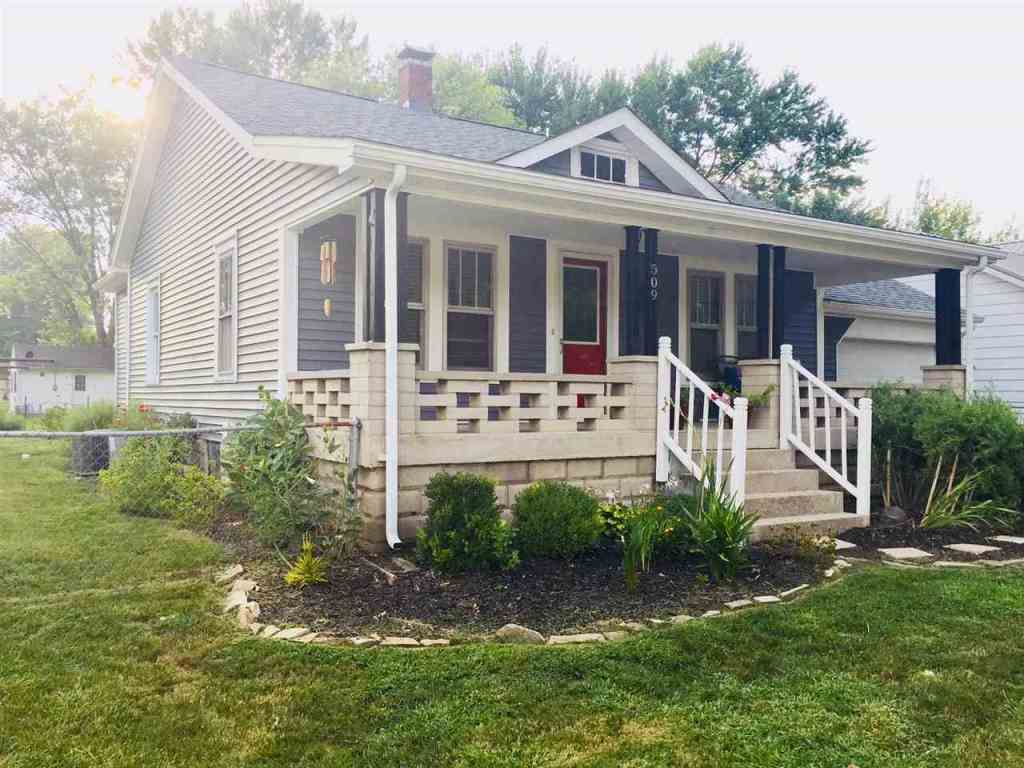
When we purchased Sunset, we had two big maple trees in the front yard that really closed in this space and made the front of the house look a little dark and shaded. These trees were actually on city property and we were fortunate enough that the city decided that they needed to be taken down. Once these were removed growing grass in the front yard became a lot easier!

Before-Very Shaded & No grass 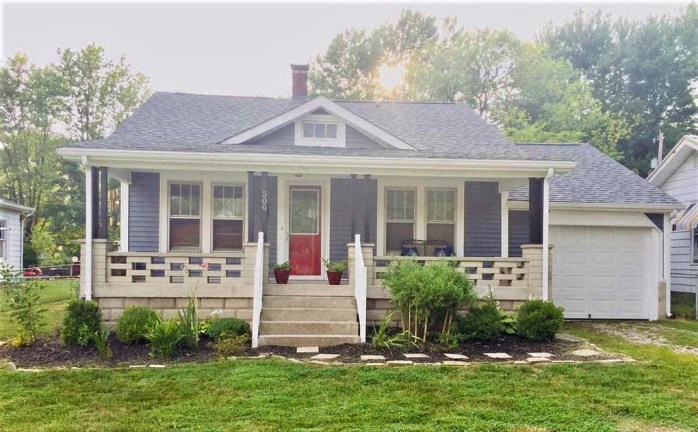
After-Removal of Trees & Sunny
We took out some of the old plants that really dated the exterior of the house and planted some really nice perennials that added a nice splash of color and contrasted nicely with the gray siding. We freshened up the flower beds with black mulch and by this time the outside was looking very homey and complete! The curb appeal difference was amazing!!


No real horror stories or funny anecdotal comedy to these, just simple projects that needed to be done to give the entire project a finished and complete look. The horror stories are yet to come…
Be sure to sign up via email to receive the latest blog posts available and be notified right away!
Just to shed some insight as to what else we had going on during this time…we had purchased several other rental properties and a new home we were planning on renovating as well. So stay tuned for more projects and horror stories! Our next post will be about Emison, our first rental property that we bought when we were about halfway finished with Sunset…
